Running Default Reports
To run a report in IndySoft, simply select the "Search/Reports" option on the main menu. You will find a rather extensive list of "ready to go" reports for your immediate use.

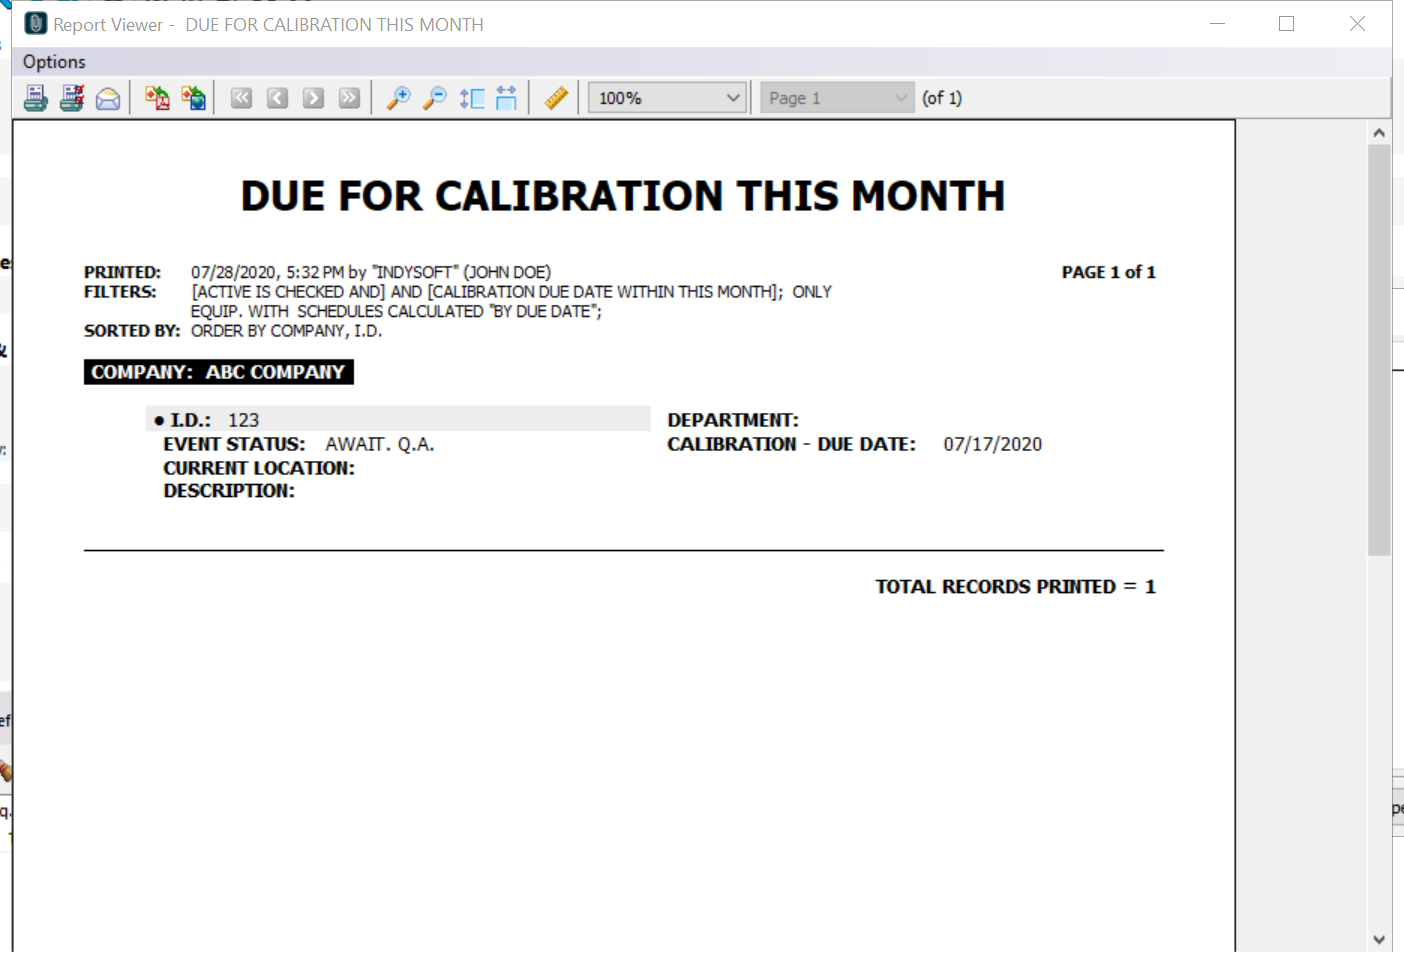
As soon as you click the report you wish to view, the screen shown below is the first one you will see. It is set up this way by default. You can click "Finish" and view the report or you can click the "Back" buttons and make temporary changes to the way the report looks.
NOTE: See Print builder help manual for further assistance on editing Indysoft Reports.
These reports are already set up to return the information seen here based on the data you are currently using in the IndySoft Client. In this example, the report has returned all the calibration information that is due this month by company.
These reports are broken down into 5 steps:

Step 1 is the Equipment Filter. These are pre-set and can only be changed in Printbuilder. You can, however, make a one-time temporary change when you open the report. For example; You want to make the Cal Due Date between today and 3 weeks from now instead of within this month. You can change the filter (as long as you have security rights) to reflect the temporary change and the information will process this way for you. As soon as you close the report, it will default back to it's original setting.
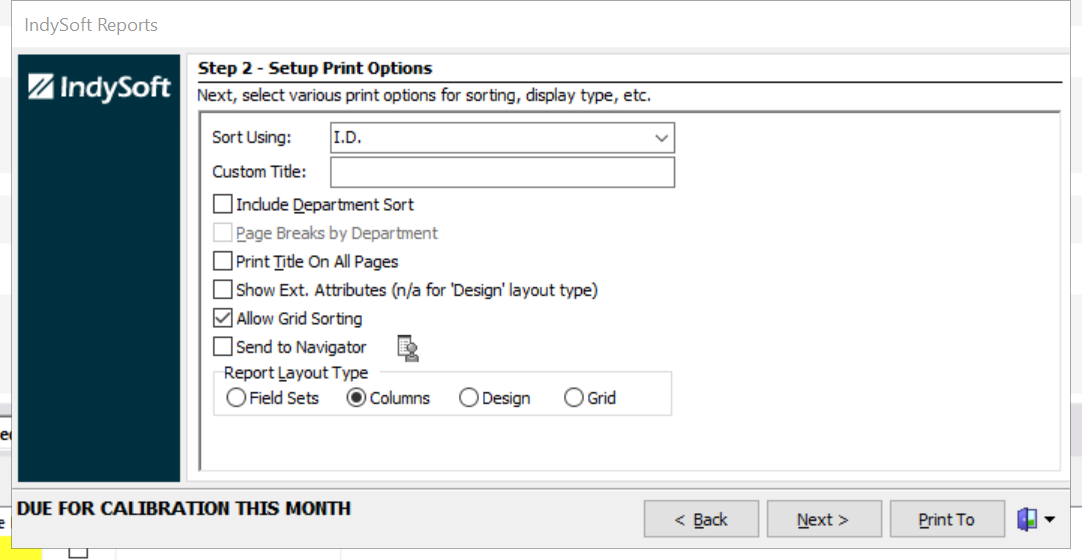
Step 2 is the Print Options. This information allows the user to sort by an item of their choice as well as giving the report a custom title.

Step 3 is the Display Fields. This allows the user to pick the fields he/she wishes to have displayed on the report.
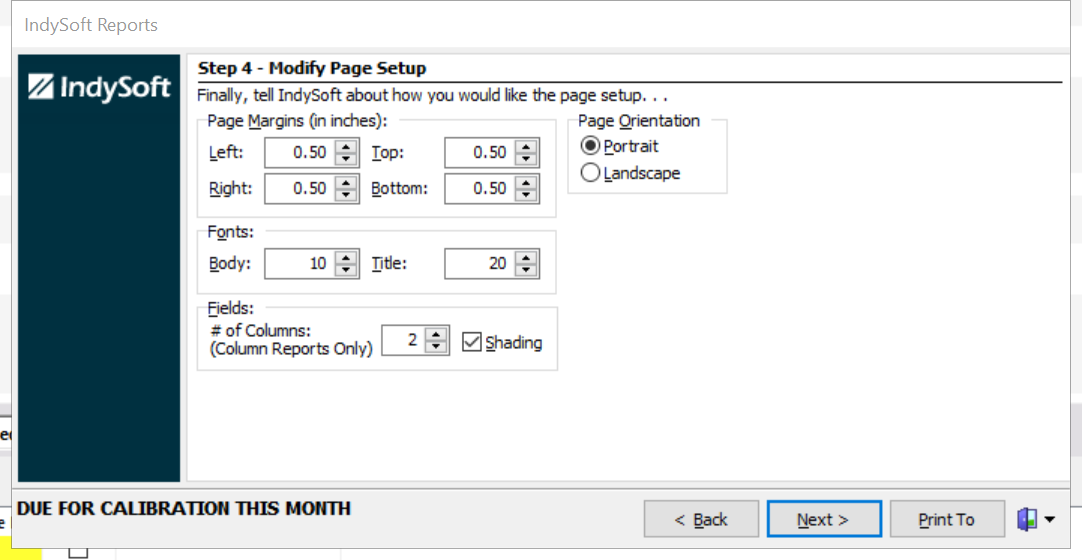
Step 4 is the Modify Page Setup. You can change the orientation of the page as well as the page margins. The fonts and number of columns can be changes also.
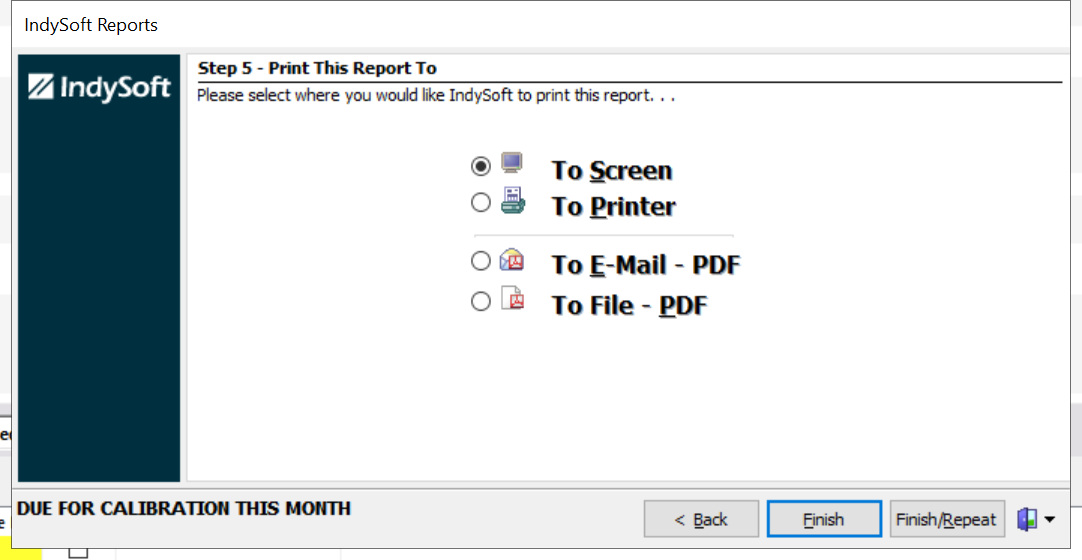
Step 5 is the Print Report To screen. You can select where the report will be sent by choosing one of the 4 radio buttons. |