Flowchart Editor Toolbar Buttons
There are five different toolbar panels available. Several of the options are duplicated in the main menu options or right-mouse click options:
·File/Edit Toolbar Panel
·Object Properties Toolbar Panel
·Font/Text Properties Toolbar Panel
·Alignment/Spacing Toolbar Panel
File/Edit Toolbar Panel

![]() Save Flowchart
Save Flowchart
This menu option is duplicated in the main 'File' menu. This will save any modifications to the flowchart. If you attempt to close the Flowchart Editor without saving your changes, you will be automatically prompted to save any changes. Note the word 'MODIFIED' that appears in the bottom status bar of the Flowchart Editor after any modifications.
![]() Print
Print
This menu option is duplicated in the main 'File' menu. This option will send the current flowchart to the selected Windows printer. A print confirmation dialog will be shown before proceeding - use this dialog to confirm the printer, pages, copies, etc.:
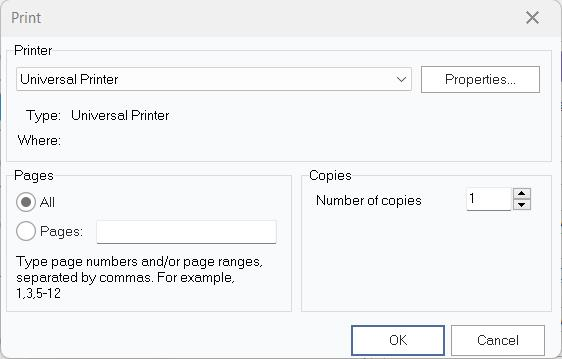
Flowchart Print Confirmation Dialog
![]() Print Preview
Print Preview
This menu option is duplicated in the main 'File' menu. This option will preview a print job for the current flowchart. The Page Setup options (above) will be used for any margins and page orientation. Use the buttons above the preview to move between pages and adjust the preview zoom. Press the Print button to print the diagram directly from the preview window.
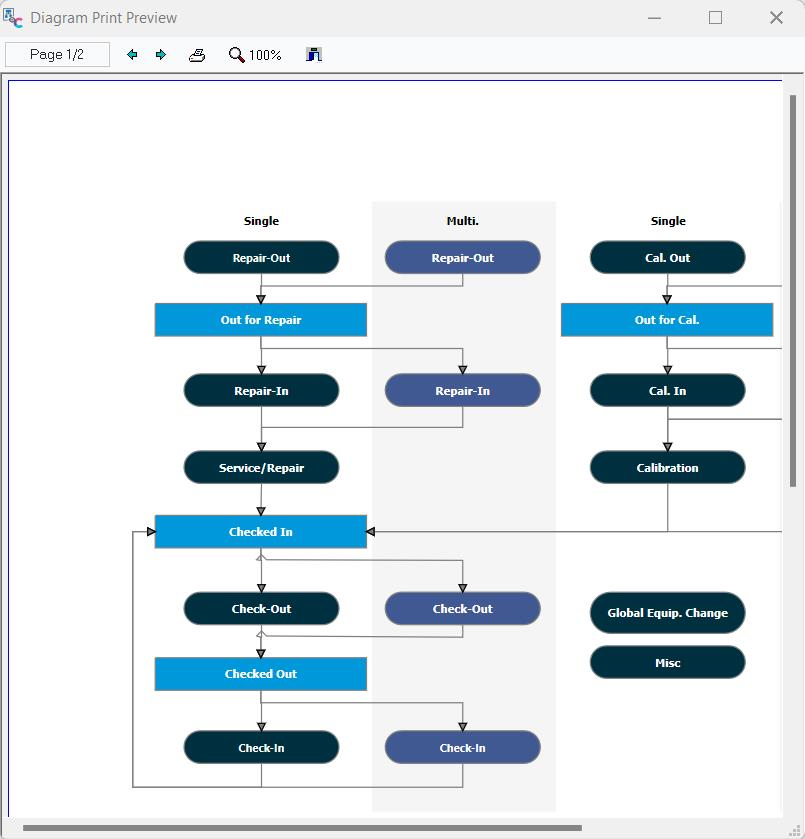
Flowchart Print Preview Dialog
![]() Cut
Cut
This option is duplicated in the main 'Edit' menu. Use this option to cut the selected object or text to the Windows clipboard.
![]() Copy
Copy
This option is duplicated in the main 'Edit' menu. Use this option to copy the currently selected object or text to the Windows clipboard.
![]() Paste
Paste
This option is duplicated in the main 'Edit' menu. Use this option to paste the current contents of the Windows clipboard into the flowchart. This option is only enabled if the Windows clipboard is already populated with an item.
![]() Picture
Picture
This option is duplicated as a right-mouse click option on selected objects in the flowchart and the main [****]Object menu. Use this option to browse your file system for a picture that will be used in the background of the currently selected object. Most major image-based file types are supported. To clear a previously selected image, right-mouse click on the object and select 'Clear Image.'
Note: Only one object type displays without a border and is transparent around any text or picture - the 'Text' object is available on the 'All objects' tab. So if you want ONLY to show the image, this object is the correct choice. If you want an image that simply shows in the background of a box, then a normal Flowchart object will suffice.
![]() Bring to Front
Bring to Front
This option is also available through a right-mouse click option in the flowchart. Use this option to bring the currently selected object to the top of the Z-order - moving it on top of all other objects.
![]() Send to Back
Send to Back
This option is also available through a right-mouse click option in the flowchart. Use this option to bring the currently selected object to the bottom of the Z-order - moving it behind all other objects.
![]() Font
Font
This option is duplicated in the main Object menu and through a right-mouse click option in the flowchart. This option is only relevant if you have a flowchart object (not a line) currently selected. This will display a familiar font options dialog for modifying the font settings for the current object:
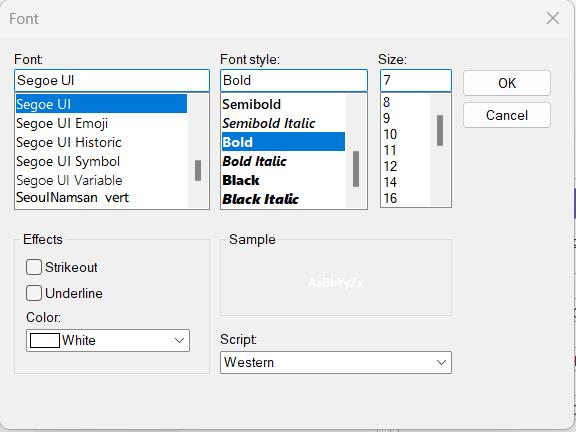
Font Options Dialog
![]() Group
Group
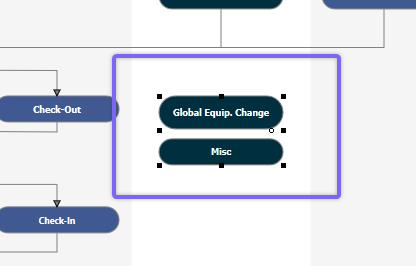
This option is duplicated in a right-mouse click option in the flowchart. This option is only relevant/enabled if multiple objects are selected in the flowchart. Use this option to group the selected objects. Grouped objects will be moved together to maintain the same relative position. A common example of a group is to use a Text object (since it has no border) to display an image, then position that image object close to an event box - then you can group these objects so they will always move in tandem.
![]() Ungroup
Ungroup
This option is duplicated in a right-mouse click option in the flowchart. This option is only relevant/enabled if you have selected a group of objects in the flowchart that had previously been grouped using the above option. Use this option to remove the previous grouping.
Object Properties Toolbar Panel

![]() Shape Color
Shape Color
This option is duplicated in the main Objects menu and through a right-mouse click option in the flowchart. Modify the color of the currently selected shape (if any). Choose from one of the 40 default colors. If you want to select advanced colors, use the Objects menu or right-mouse click option.
![]() Gradient
Gradient
This option is duplicated (although in a different interface) in the main Objects menu. Select one of the 14 gradient styles (examples are shown in black/white) and select the start and end colors. Select 'No Gradient' to clear the gradient for the selected object.
![]() Brush Style
Brush Style
Use this option to modify the brush style for the background of the selected object - choose from solid background, empty background, various lines, hashes, etc.
![]() Shadow
Shadow
Use this option to create a shadow for the selected object. Shadows can be in any direction - all four options are available, or select 'No Shadow' to remove any current shadow settings. For more options, select 'Shadow Settings.' This dialog also lets you modify the width of the shadow.
![]() Line Style
Line Style
Use this option to modify the style of the currently selected line. Lines can be straight, dotted, dashed, etc.
![]() Line Color
Line Color
This option is duplicated in the main Object menu and through a right-mouse click option in the flowchart. Use this option to modify the color of the currently selected line - choose from one of the 40 default colors. Use the equivalent option from the right mouse click or the Object menu to create a custom color.
![]() Transparency
Transparency
Use this option to adjust the transparency of the currently selected object. Note that this transparency applies to the entire box, including any image, text, etc.
![]() Line Width
Line Width
Use this option to modify the width of the currently selected line. Line width can be between 1 and 9 points.
![]() Text Color
Text Color
This option is duplicated in the main Object menu and through a right-mouse click option in the flowchart. Use this option to modify the color for the currently selected text or object. Select from one of the 40 default colors. If you want to create a custom color, use the equivalent link from the main Object menu or the right-mouse click option on the flowchart.
Font/Text Properties Toolbar Panel

![]() Font Name, Size, Style
Font Name, Size, Style
Use these options to quickly select the font, size, and style (bold, italic, underlined) for the currently selected text/object. This option is also available from the main Object menu and through a right-mouse click option in the flowchart. In those instances, a dialog is used instead of toolbar controls.
![]() Align Left
Align Left
Align the selected text to the object's left side - horizontal alignment.
![]() Align Center
Align Center
Aligns the selected text to the center of the object - horizontal alignment.
![]() Align Right
Align Right
Align the selected text to the object's right side - horizontal alignment.
![]() Align Top
Align Top
Aligns the selected text to the top of the object - vertical alignment.
![]() Align Middle
Align Middle
Aligns the selected text to the middle of the object - vertical alignment.
![]() Align Bottom
Align Bottom
Aligns the selected text to the bottom of the object - vertical alignment.
Alignment/Spacing Toolbar Panel

![]() Align Left Edges
Align Left Edges
Use this option to align the left edges of all selected objects - horizontal alignment.
![]() Align Right Edges
Align Right Edges
Use this option to align the right edges of all selected objects - horizontal alignment.
![]() Align Horizontal Centers
Align Horizontal Centers
Use this option to align the centers of all selected objects - horizontal alignment.
![]() Align Top Edges
Align Top Edges
Use this option to align the top edges of all selected objects - vertical alignment.
![]() Align Bottom Edges
Align Bottom Edges
Use this option to align the bottom edges of all selected objects - vertical alignment.
![]() Align Vertical Centers
Align Vertical Centers
Use this option to align the centers of all selected objects - vertical alignment.
![]() Make Same Width
Make Same Width
Use this option to change the width of all selected objects to the same width as the first selected object.
![]() Make Same Height
Make Same Height
Use this option to change the height of all selected objects to the same height as the first selected object.
![]() Make Same Size
Make Same Size
Use this option to make all selected objects the same height and width - as defined by the first selected object.
![]() Space Equally Horizontally
Space Equally Horizontally
Use this option to space all selected objects evenly horizontally. So, the left side of the leftmost object is considered, then the right side of the rightmost object, and all objects in between are spaced evenly horizontally between these points.
![]() Increment Horizontal Space
Increment Horizontal Space
Use this option to move all selected objects one step further apart horizontally. Typically this operation is performed after the above 'Space Equally Horizontally' option. So, once all objects are evenly spaced horizontally, you can use this operation to add extra horizontal space between all objects.
![]() Decrement Horizontal Space
Decrement Horizontal Space
Use this option to move all selected objects one step closer to one another. Typically this operation is performed after the above 'Space Equally Horizontally' option. So, once all objects are evenly spaced horizontally, you can use this operation to remove the same amount of horizontal space between all objects.
![]() Space Equally Vertically
Space Equally Vertically
Use this option to space all selected objects evenly vertically. So, the top-side of the topmost object is considered, then the bottom of the bottommost object, and all objects in between are spaced evenly vertically between these points.
![]() Increment Vertical Space
Increment Vertical Space
Use this option to move all selected objects one step further apart vertically. Typically this operation is performed after the above 'Space Equally Vertically' option. So, once all objects are evenly spaced vertically, you can use this operation to add extra vertical space between all objects.
![]() Decrement Vertical Space
Decrement Vertical Space
Use this option to move all selected objects one step further closer to one another vertically. Typically this operation is performed after the above 'Space Equally Vertically' option. So, once all objects are evenly spaced vertically, you can use this operation to remove the same amount of vertical space between all objects. |