Using
Using the RP1 - A3 ANALYSIS event is a simple matter of launching the event, adding the gages to be analyzed, entering the information for the analysis, and pressing the "Run Analysis" button.
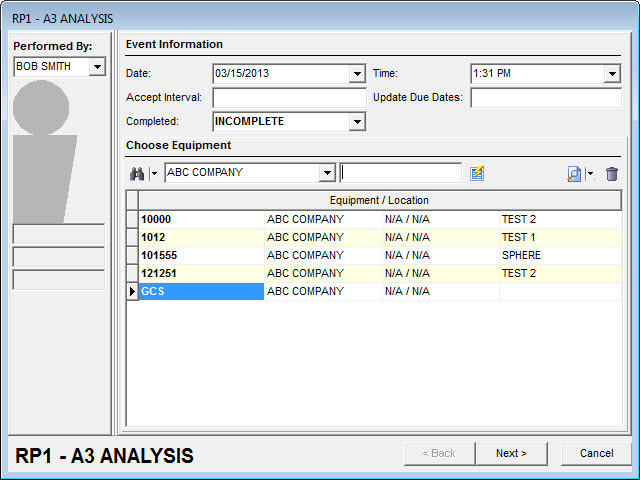
Step 1: Add gages to the event
Equipment should be added that is considered "similar", has the same schedule interval, and had the same schedule interval for the time period that will be tested.
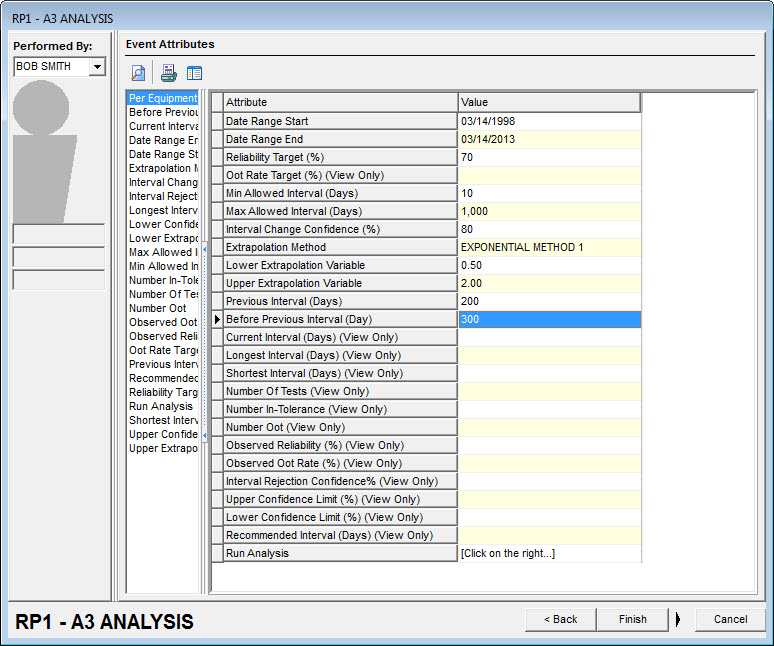
Step 2: Enter parameters for the analysis
Values you can enter as a user are as follows:
Date Range Start, Date Range End: Calibration type events will be scanned that were performed within this date range. Both are required, and they must be in order.
Reliability Target (%): This is the desired "In Tolerance" rate for this group of gages. This value must be between 0 and 100.
Min Allowed Interval (Days): This is the shortest interval that is allowed. If the calculated interval is smaller than this, this value will be used instead. It must be greater than 0.
Max Allowed Interval (Days): This is the largest interval that is allowed. If the calculated interval is larger than this, this value will be used instead. It must be greater than the minimum interval.
Interval Change Confidence (%): This is determines how different from the Reliability Target results need to be before the schedule is adjusted. Higher values will make a change less likely. It must be between 0 and 100.
Extrapolation Method: There are four options that will control how an extrapolation is performed (described below): Confidence-Compensated, Exponential, Exponential Method 1, Exponential Method 2. It cannot be blank.
Lower Extrapolation Value: This parameter is used for the Confidence-Compensated and Exponential Method 2 calculations. It must be between 0 and 1 if one of those methods is selected.
Upper Extrapolation Value: This parameter is used for the Confidence-Compensated and Exponential Method 2 calculations. It must be greater than 1 if one of those methods is selected.
Previous Interval (Days): This is the Calibration interval that existed prior to the current interval. It is used in the Interpolation calculations (described below).
Before Previous Interval (Days): This is the Calibration interval that existed prior to the Previous Interval. It is used in the Interpolation calculations (described below).
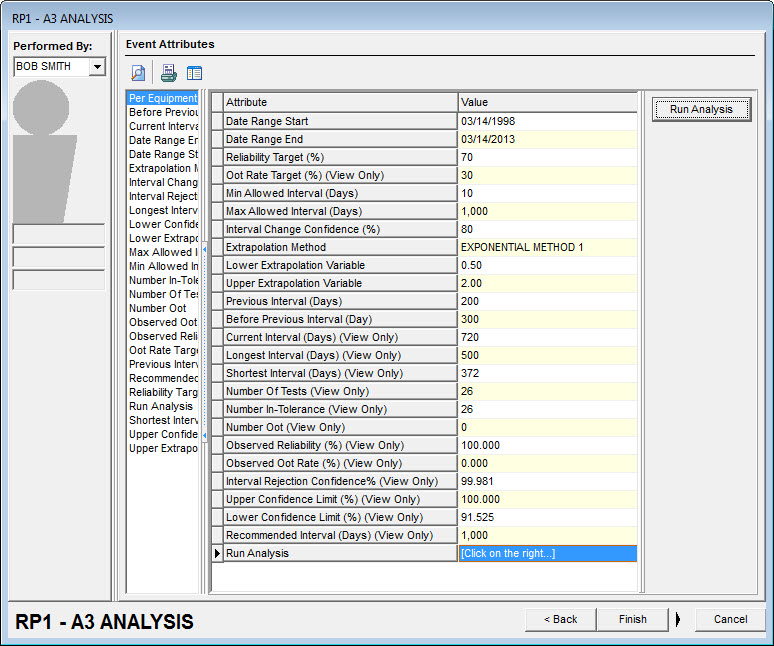
Step 3: Click the Run Analysis button
When the Run Analysis button is pressed, the user-entered data is checked for validity. If it passes, Oot Rate Target (%) is calculated as 100-Reliability Target, and the calibration events (any event with "Calibration Event" checked on step 3) are analyzed. The first gage's calibration interval is used as Current Interval (Days). Any gage that doesn't have a calibration interval, or is different will be displayed to the user as a warning, as it may make the analysis invalid.
For each gage, the number of days between each calibration in the date range is checked. The largest and smallest number of days is noted in Longest Interval (Days) and Shortest Interval (Days). If the values seem inconsistent with the current interval, the analysis may be invalid.
Each event is checked for an event result of "Passed", "Failed", or "Adjusted". If it has one of those results, it is counted as one of the tests in Number Of Tests. "Passed" events are counted as Number In-Tolerance. "Failed" and "Adjusted" are counted in Number Oot. These produce an Observed Reliability of Number In-Tolerance / Number Of Tests * 100, and Observed Oot Rate of Number Oot / Number Of Tests * 100.
If the Number Of Tests is at least one, the next values that are calculated are the Confidence Limits and Interval Rejection Confidence. For the following calculations:
·α = (100%-Interval Change Confidence (%)) / 2
·n = Number Of Tests
·g = Number In-Tolerance
·R = Observed Reliability
·Q is the value that will be stored as Interval Rejection Confidence
·RU is the value that will be stored as Upper Confidence Limit (%)
·RL is the value that will be stored as Lower Confidence Limit (%)
Once that is done, the Observed Reliability is compared with the Reliability Target. If the Observed Reliability is lower, then the Interval Rejection Confidence is calculated as:
![]()
If the Observed Reliability is higher, the Interval Rejection Confidence is calculated as:
![]()
The Upper Confidence Limit and Lower Confidence Limit are the solutions to the following two equations.
![]()
![]()
The last calculation is to determine the Recommended Interval. The first check is to see if the interval can be interpolated. If the Observed Reliability is higher (or lower) than the Upper Confidence Limit, and the Current Interval is higher (or lower) than either the Previous Interval or Before Previous Interval, then the Recommended Interval is the average of the Current Interval and the lower (or higher) interval.
If the interval cannot be interpolated, then it is extrapolated based on the method chosen in Extrapolation Method. For the following calculations:
·R = Observed Reliability
·R0 = Target Reliability
·Q = Interval Rejection Confidence
·a = Lower Extrapolation Variable
·b = Upper Extrapolation Variable
·I0 = Current Interval
·I1 is the value that will be stored as Recommended Interval
Confidence-Compensated
This method has two additional variables:
·![]()
·if Q is not 1, ![]()
If R0 > R then
if Q=1 then
I1=I0*b
else if w>b
I1=I0*b
else
I1=I0*w
else if v<a
I1=I0*a
else
I1=I0*v
Exponential
This method can have extreme changes.
I1=I0*ln(R)/ln(R0)
Exponential Method 1
This method avoids possible extreme changes.
If R0 > RR/(R+1) then
I1=I0*(1+1/R)
else if R0<R2/(2-R)
I1=I0*(1-R/2)
else
I1=I0*ln(R)/ln(R0)
Exponential Method 2
This method avoids possible extreme changes.
If R0 > R1/b then
I1=I0*b
else if R0<R1/a
I1=I0*a
else
I1=I0*ln(R)/ln(R0)
With the calculations complete, the screen is refreshed so the user can review the results.
When the user clicks "Finish", a check is made to see if the analysis has been run. If not, the user will get the following error:
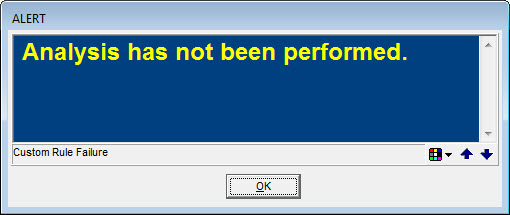
Otherwise, there will be a prompt to accept the results. The answer is saved in "Accept Interval" for future reference.
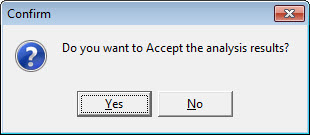
If yes is selected, all equipment in the event has its calibration interval updated to the recommended interval, and the following question is asked:
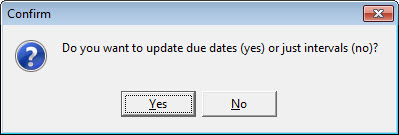
The answer is saved in "Update Due Dates". If Yes is selected, the calibration due dates are recalculated for all equipment in the event that has a Last Cal Date. |