Populating Selection List - Add / Edit
You can populate selection lists in IndySoft in 2 ways:
- Add/Edit. ( On the top menu)
2. Typing the information in the selection lists on the fly.
Let's take a look at each of these functions.
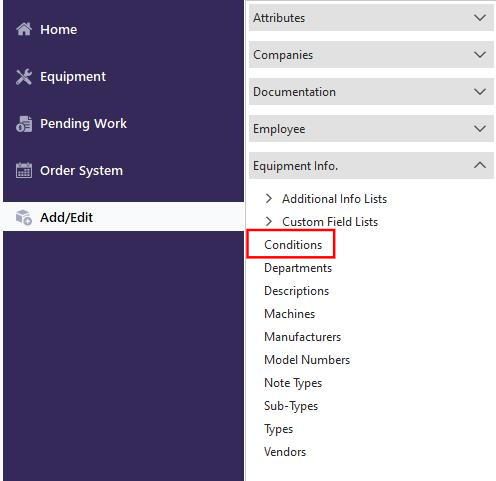
- Use the Add/Edit feature on the main screen menu, select the selection lists to populate (in this example, I have chosen Conditions), and then click the "Add New" icon
 . You can add as many items as you wish. If you make a mistake, say you misspelled a word, you can delete it and re-enter it with the correct spelling.
![]() The Add/Edit Toolbar contains (from left to right) "Add New," "View Item," "Delete Item," "Find Item," and "Print Grid."
The Add/Edit Toolbar contains (from left to right) "Add New," "View Item," "Delete Item," "Find Item," and "Print Grid."

You can also merge the list to another company or use it to replace a list altogether. On the toolbar, select the company to merge/replace icon  .
.
![]()

Select the Company(s) that you wish to merge or replace the list to and click "OK." The list will now be visible in the Company you chose. |