Custom Report Example 1
You can select data from your database using an SQL query within the data workspace. This functionality is provided via query-based data views, which can be visually created using the Query Wizard and visually maintained using the Query Designer.
For the first example, suppose you want to create a report listing all of your company's equipment, including Type, Sub-Type, Purchase Date, and Retire Date. To cover all possible steps, we'll use a CUSTOM report. From IndySoft's home tab, select Utilities...PrintBuilder...General Reports...Custom. Then click on the New Template icon.
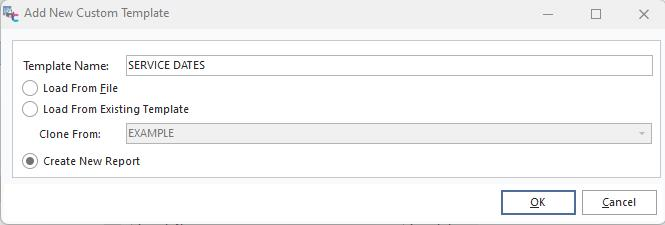
Add New Custom Template
In the Template Name Filed, type in a report name ('SERVICE DATES' in this example) and click Create New Report. Click 'OK'.
In PrintBuilder, click 'SERVICE DATES' in the grid to open, then click on the Data tab. Select File...New...Query Wizard to create a new Data Pipeline.
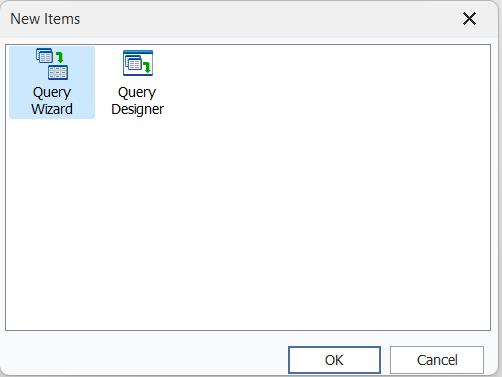
New Items - Query Wizard
In this example, scroll down on the left column to select the GAGES table (Equipment). (Double-click or highlight and click the right arrow).

Query Wizard - Table Select
Click 'Next.'
In the next window, click the 'Choose Fields' option, then select Fields COMPANY, GAGE_SN, GAGE_ID, GAGE_TYPE, SUBTYPE, PURCHASE_DATE, RETIRE_DATE, and ISACTIVE as in the window below:
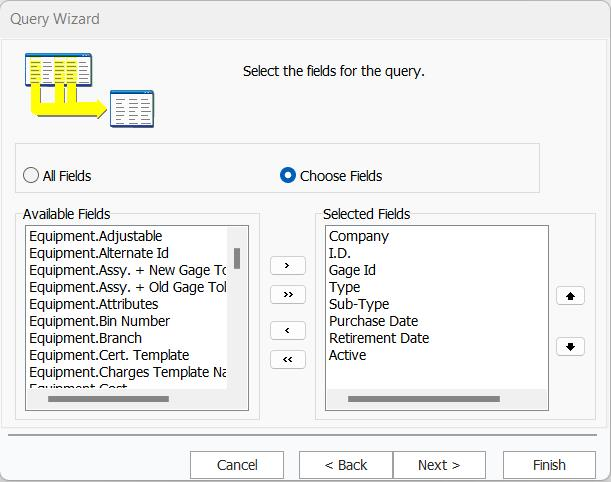
Query Wizard - Choose Fields
Click 'Next.'
For this example, since we are keeping things simple, select the options below for the next four windows:
·No Calculations
·No Grouping
·All Rows
·Natural Order
In the final window, type in a description name for the query, then select 'Return to data workspace':
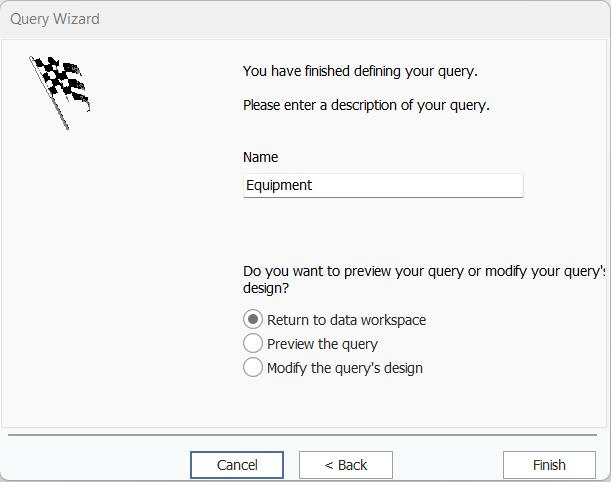
Query Wizard - Finish
Click 'Finish.'
In the 'Data' tab, you will now see a box with the fields you selected previously.
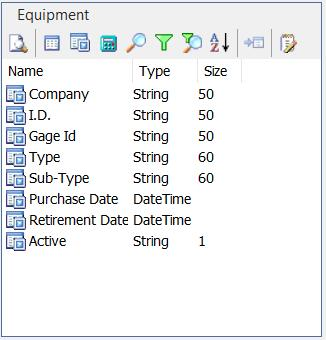
Pipeline Fields
![]() Click the 'Preview' button to view the data to ensure the correct records have been selected.
Click the 'Preview' button to view the data to ensure the correct records have been selected.
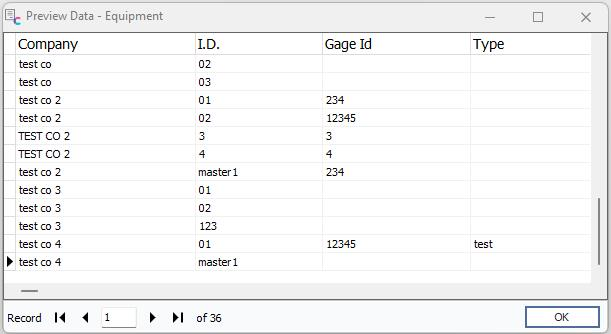
Preview Data
Once satisfied, click 'OK' and the 'Design' tab.
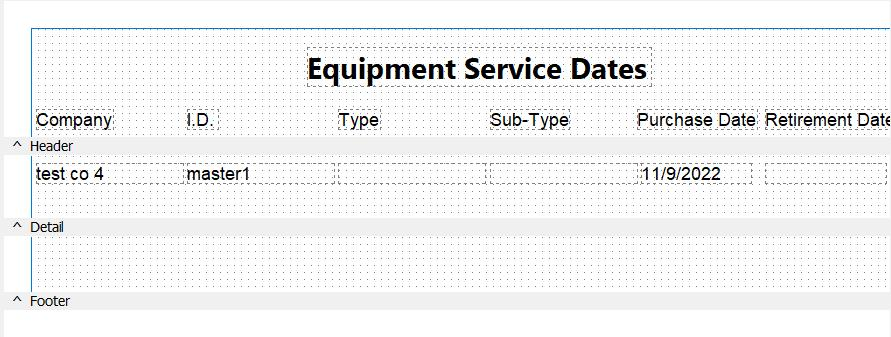
At this point, our Design is empty. Let's add a short description of the report in the Header and labels for Company, Gage I.D., ...
Design Tab Example
For a description, we'll use a label of 'Equipment Service Dates' and set it to 20pt Bold Arial, adjust the width to display the entire label, and Center Horizontally in the Band at the top of the Header band. We'll also drag the Header band bottom to give space for the coming labels. Notice that the toolbar buttons used in this example have been highlighted.
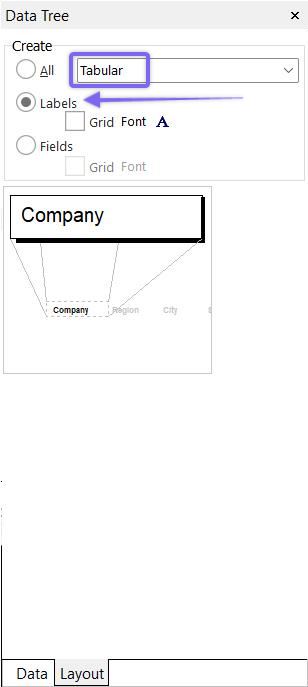
Using the Data Tree below, we'll select the Labels of COMPANY, GAGE_SN, GAGE_TYPE, SUBTYPE, PURCHASE_DATE, and RETIRE_DATE in a tabular style. After selecting the fields (CTL + Click to group them), drag them to the far left of the HEADER section, then re-position them individually, as shown in the above example. You can also drag each field individually and place the field where you want. Also, you can click each field and edit or rename it.

Next, we need to add the details. We'll use the same trick with the Data Tree, this time selecting Fields in the Layout tab.

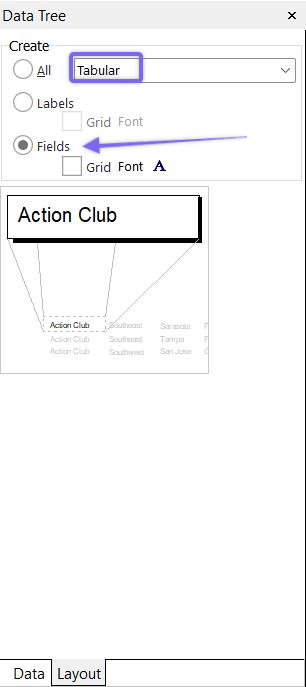
After selecting the fields (CTL + Click to group them), drag them to the far left of the DETAIL section, then re-position and size them individually, as shown below. You can also drag each field individually and place the field where you want.
Finally, add a Date, Time, and Page Number to the Footer. These are all System Variables. We'll use a DateTime System Variable in the lower left and a PageSetDesc in the lower right.
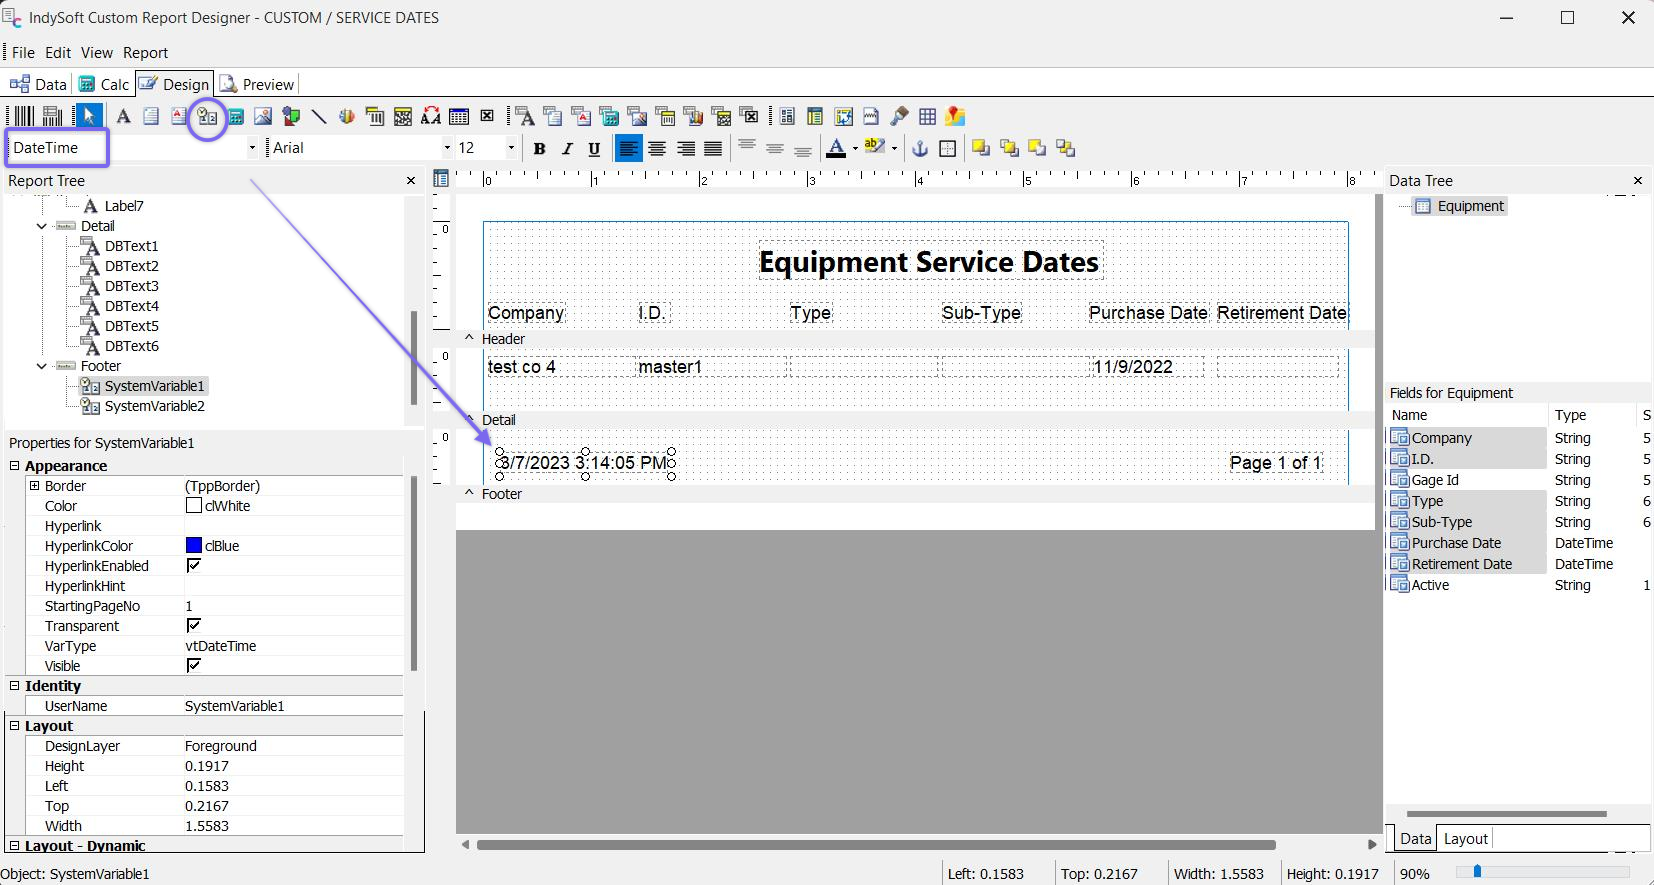
Design Tab Example - System Variables
Now click the 'Preview' tab to view the report to ensure it looks how you want. Adjust the font for the components in the Details section to allow more information to be viewed in the report.
Productivity Tip
Remember to Right-Click in the component fields for more menu options.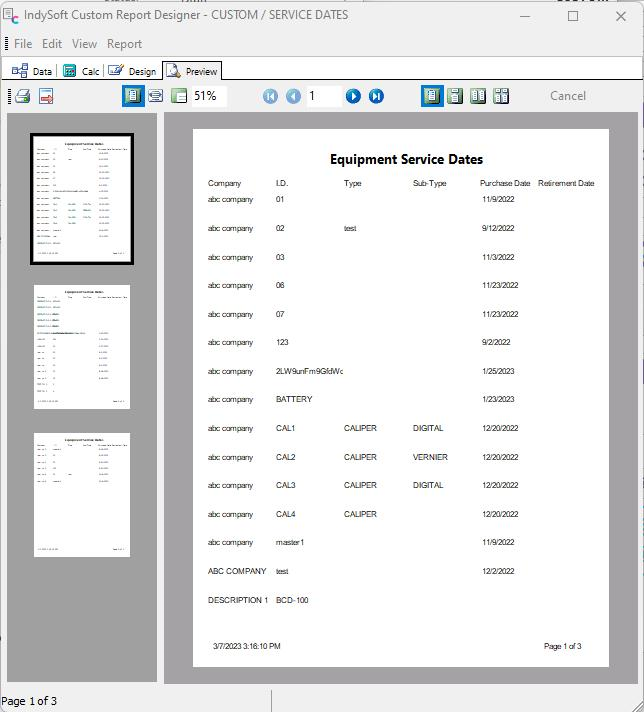
Preview Tab Example
Lines, boxes, and other effects to further improve the appearance of our report, as desired. Note: in this example, the Retire Date is not shown because that particular equipment does not yet have a retirement date.
Productivity Tip
To adjust multiple components at once, click in the white space area outside the component and drag the cursor to select multiple components. Or hold the 'CTL' key as you click each component individually to form a group.Productivity Tip
Use the keyboard to move and align components. Select the component, then CTL + 'arrows' for minor adjustments. CTL + Shift + 'arrows' for larger adjustments.