PTouch Stickers
While any Windows based label printer will work with IndySoft, we most commonly use the Brother Desktop P-touch Industrial & Commercial Barcode and Label printers. The following instructions should work for any desktop label printer. These instructions assume that the printer is already attached to the workstation and the appropriate drivers are installed. It's a good idea to test the printer through the printers installed software to make sure the printer is communicating correctly with the workstation before proceeding.
Printer Setup Steps
vFirst, close IndySoft.
vNext, go to your computers Windows Printer settings. This is most often found by going to Start..Devices and Printers. The Printers window will now open. Highlight the P-Touch printer in the list, right click, and select Printing Preferences. Note: Depending on the exact printer model, you may need to select Properties or something similar instead of Printing Preferences.
vNext, select the Label Format tab. Enter a name for the new format in the Label Format field. Use the most descriptive name possible. For example, if you are trying to print a 3/4 inch sticker that is 2 inches long, you might want to name the format 3/4 x 2.
vNext, select the correct width from the Width drop down. In this example, you would select 3/4". The x1, x2, x3, x4 radio buttons should be set to x1. Next, enter the correct length for the sticker. In this example, enter 2.0. Now, click the Save button. Click the Apply button. Click the drop down beside the Label Format field and ensure that the newly created format is in the list. If not in the list, you can try the above once more. If it still doesn't show in the list, you will most likely need to reinstall the P-Touch printer drivers.
vNext, Click OK to close the Printing Preferences.
vNow you will need to apply the new label format to the sticker template. Open IndySoft. In the Home tab, click on PrintBuilder in the Utilities menu to open.
vSelect Stickers from the Event Reports list. Highlight the sticker in question and click the View Report icon. PrintBuilder will now open into the Report Designer environment. Click the Design tab. Go to File...Page Setup.

Page Setup in Report Designer - Printer Settings
vOn the Printer tab, select your P-Touch printer from the drop down.
vNext, click the Paper Size tab.

Page Setup in Report Designer - Paper Size
vSelect the newly created Label Format, 3/4 x 2 in our example, from the Paper Size drop down. Click OK.
vNext, save the template changes by going to File...Save.
vClose the design environment. Close PrintBuilder.
vAttempt to create a sticker (label) via an event. Alternately, the on-demand PTouch Sticker dialog can be called from a hyperlink in the Equipment Layout:
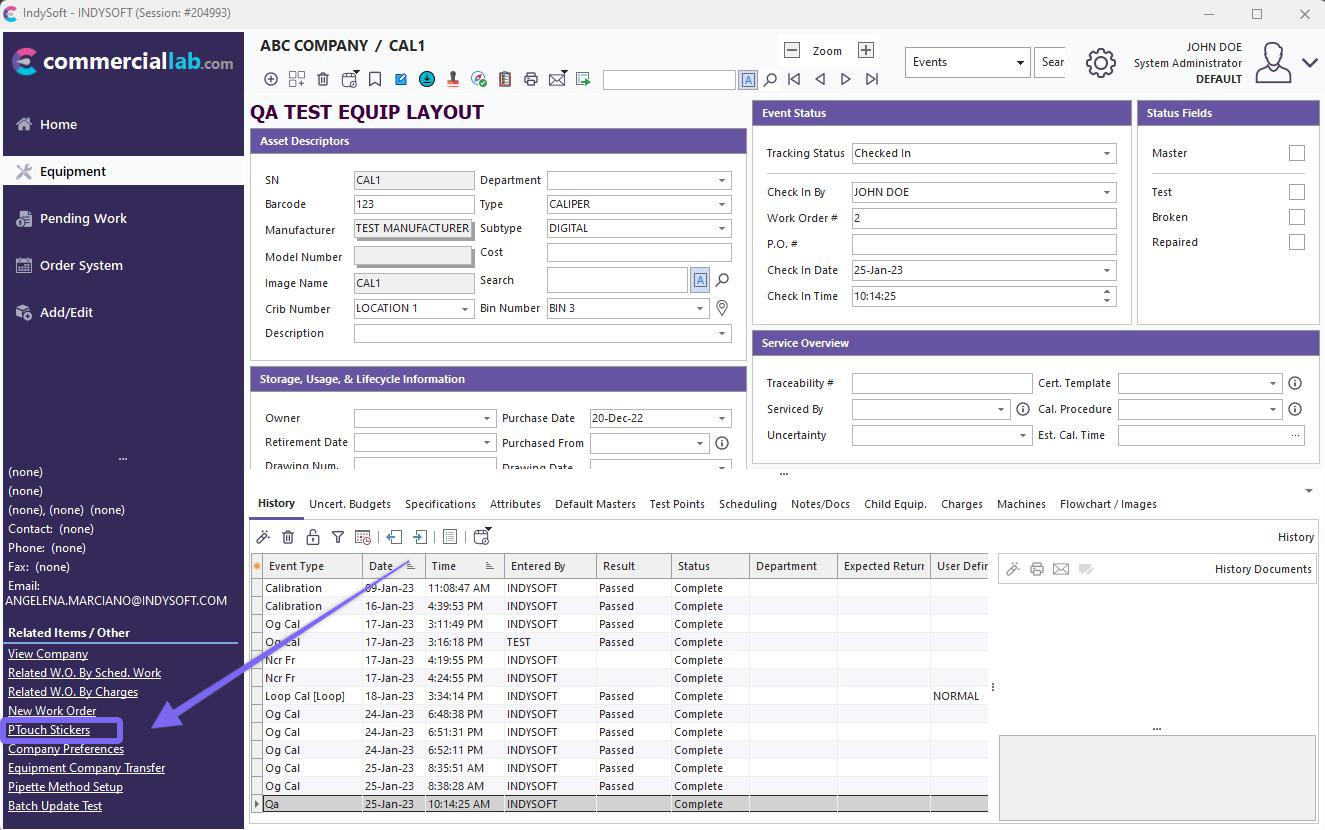
Launch PTouch Stickers From Equipment Layout
On-Demand P-Touch Stickers
You can also easily access your P-Touch sticker templates right from the home page of the IndySoft software.
Navigate to the left-hand panel under Reporting/Deliverables:

IndySoft Home - Locate P-Touch Sticker Setup
](/fr/Storage/indysoft-help-publication/2385561d-5e49-405e-a840-07478d6d6535.png)
Clicking on 'P-Touch Stickers' will launch the P-Touch Sticker Setup wizard, as shown below:

On-Demand P-Touch Stickers
Icons:
![]() Add New Sticker Layout: prompts 'Add New Calibration Sticker Layout' dialog, shown below (Note: your dialog steps may look slightly different depending on certain option selections)
Add New Sticker Layout: prompts 'Add New Calibration Sticker Layout' dialog, shown below (Note: your dialog steps may look slightly different depending on certain option selections)
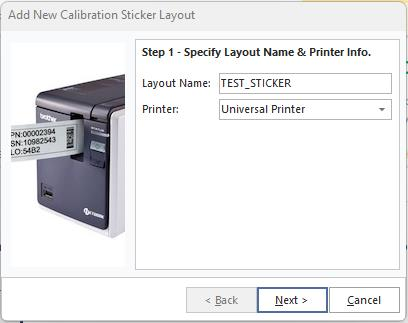
Add New Cal. Sticker Layout - Step 1
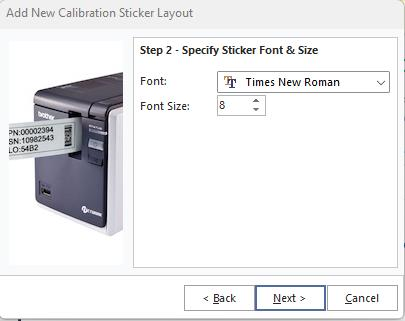
Add New Cal. Sticker Layout - Step 2
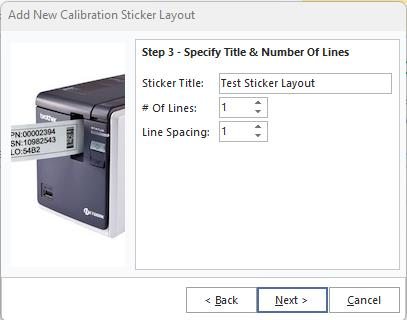
Add New Cal. Sticker Layout - Step 3

Add New Cal. Sticker Layout - Step 4
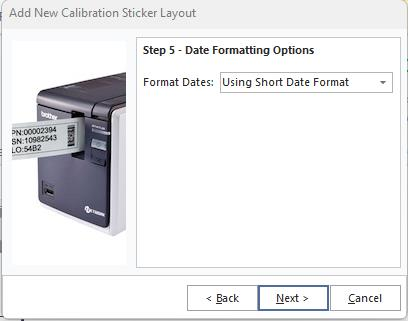
Add New Cal. Sticker Layout - Step 5
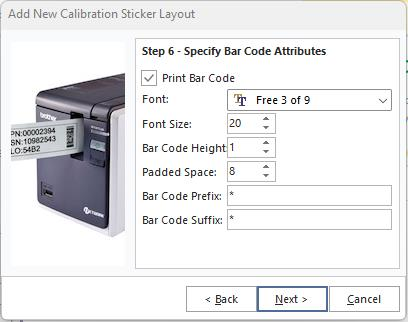
Add New Cal. Sticker Layout - Step 6
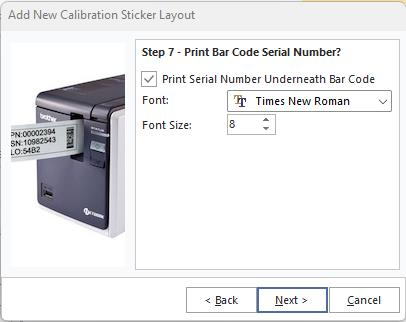
Add New Cal. Sticker Layout - Step 7
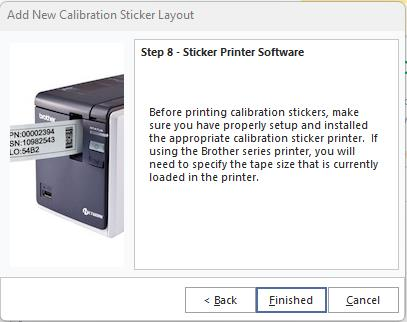
Add New Cal. Sticker Layout - Step 8
![]() Delete New Sticker Layout: deletes the currently selected sticker layout in the drop-down
Delete New Sticker Layout: deletes the currently selected sticker layout in the drop-down
![]() Edit Sticker Layout: prompts dialog similar to 'Add New' called 'Edit Calibration Sticker Layout'
Edit Sticker Layout: prompts dialog similar to 'Add New' called 'Edit Calibration Sticker Layout'
![]() Print: print options for the currently selected sticker |
Print: print options for the currently selected sticker |