Adding New Users
Adding new users to IndySoft Commercial Lab Management is a quick and easy process that takes only a few minutes.
This section will describe the steps necessary to ensure the proper application of adding new users to IndySoft.
Step 1:
Launch Profile Manager from the Home Layout. In v13 and above, this will be done from the Admin Panel. NOTE: You must be a System Administrator to gain access to the Profile Manager.

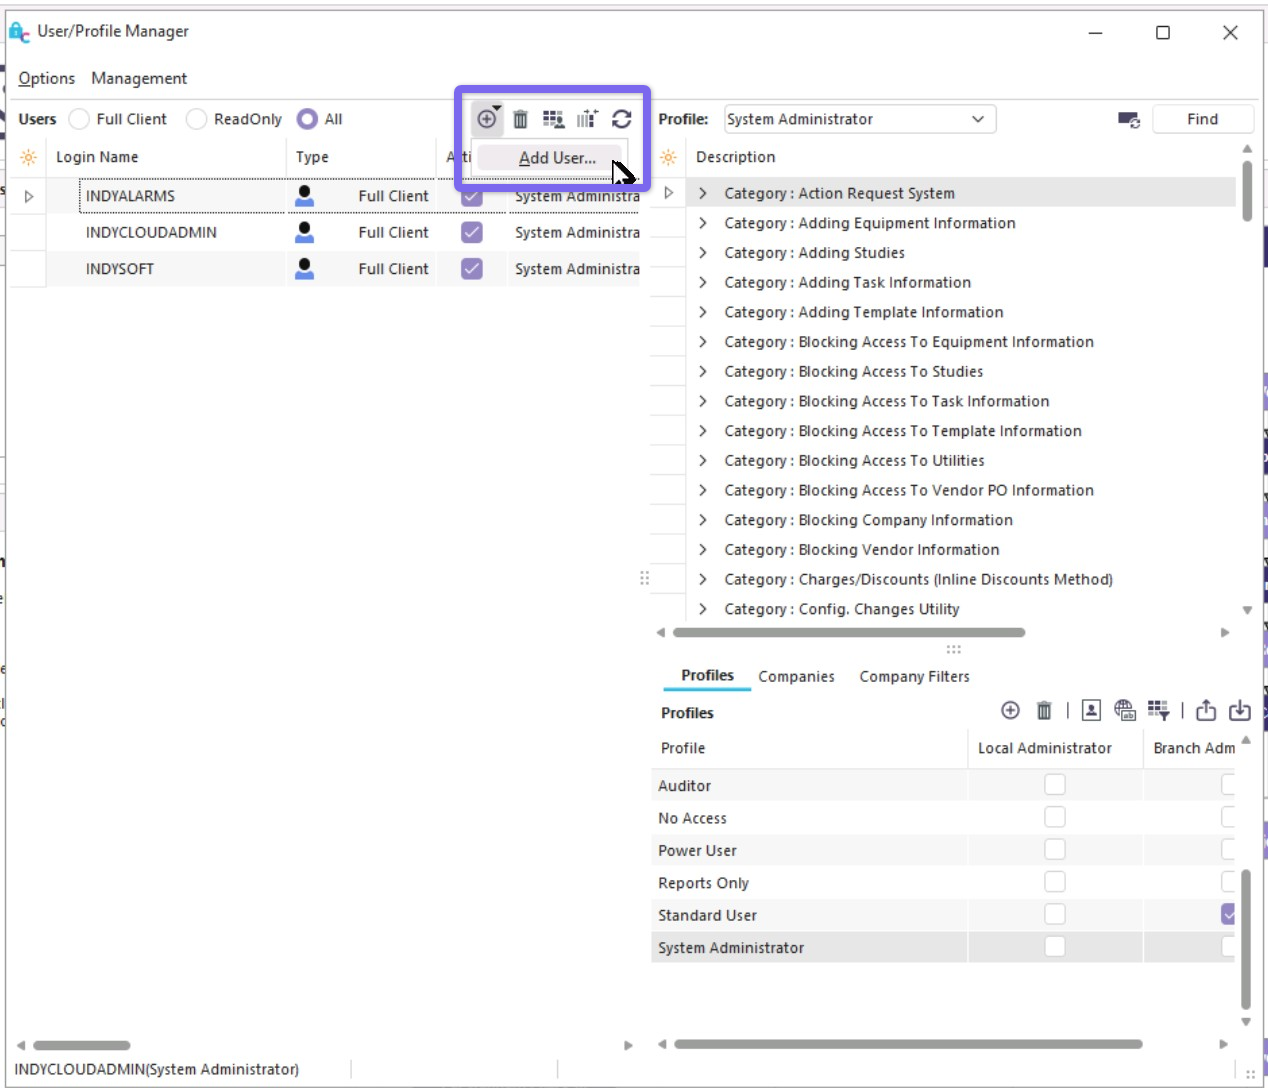
Step 2: From the Profile Manager, Select the "Add New User" icon.
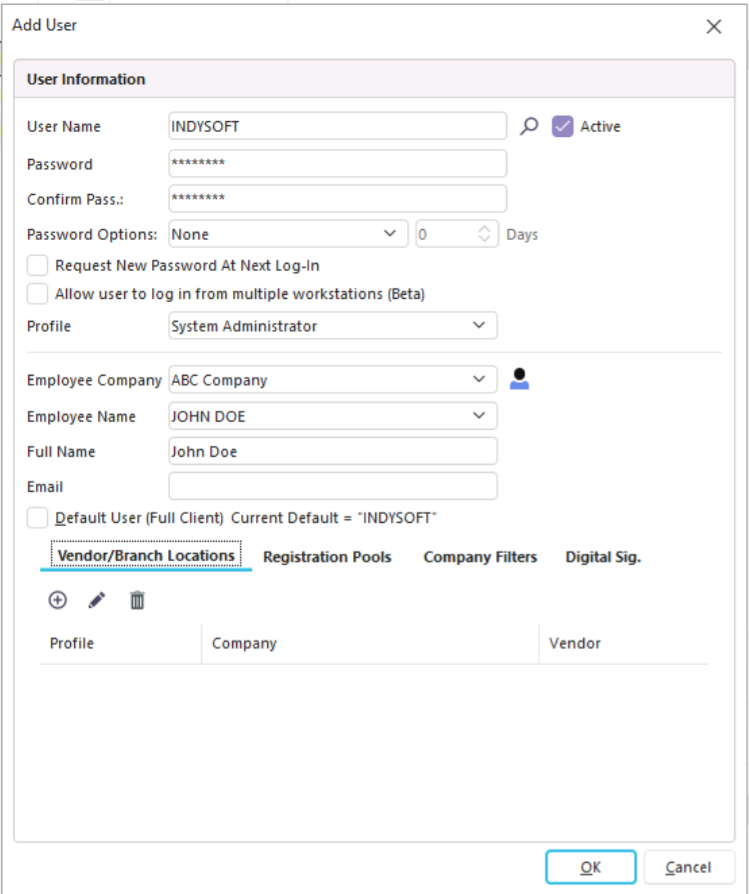
Step 3. Begin adding the new user information as shown below. Note: The user name must be one word with no spaces.
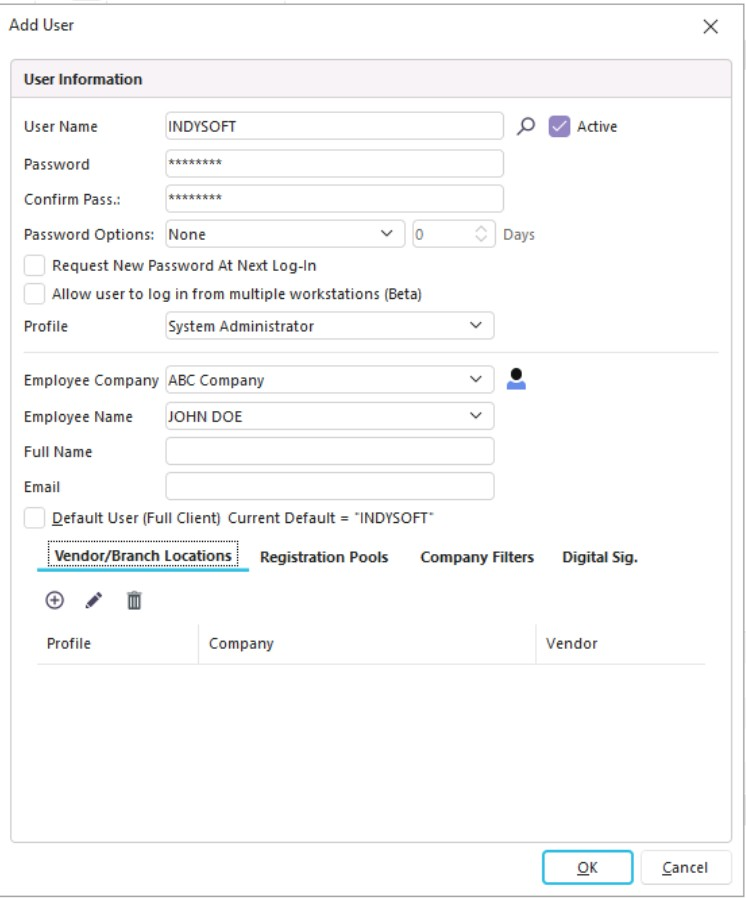
Give each new user a password to log on for the first time. Check the box that says "Request New Password At Next Login." This will allow users to add their password in privacy when they log in for the first time. Passwords are not stored anywhere in the IndySoft Client, so if a user forgets their password, the System Administrator must re-enter it.
Profiles: IndySoft comes pre-loaded with several profiles for you to choose from, the following is a short description of each of these:
Auditor: Used for auditing purposes, this profile has limited access and, by default, cannot add new equipment.
Power User: This profile has access to most tasks but has limited access to utilities
Reports Only: Used for reporting purposes only.
Standard User: This profile has access to do most tasks but cannot add to the add/edit list.
System Administrator: Has full access to all utilities and can perform any actions.
Step 4. Adding the user name to the employee list. This is done by clicking the Employee ID icon
![]() . The Employee Add/Edit List shown below will appear.
. The Employee Add/Edit List shown below will appear.
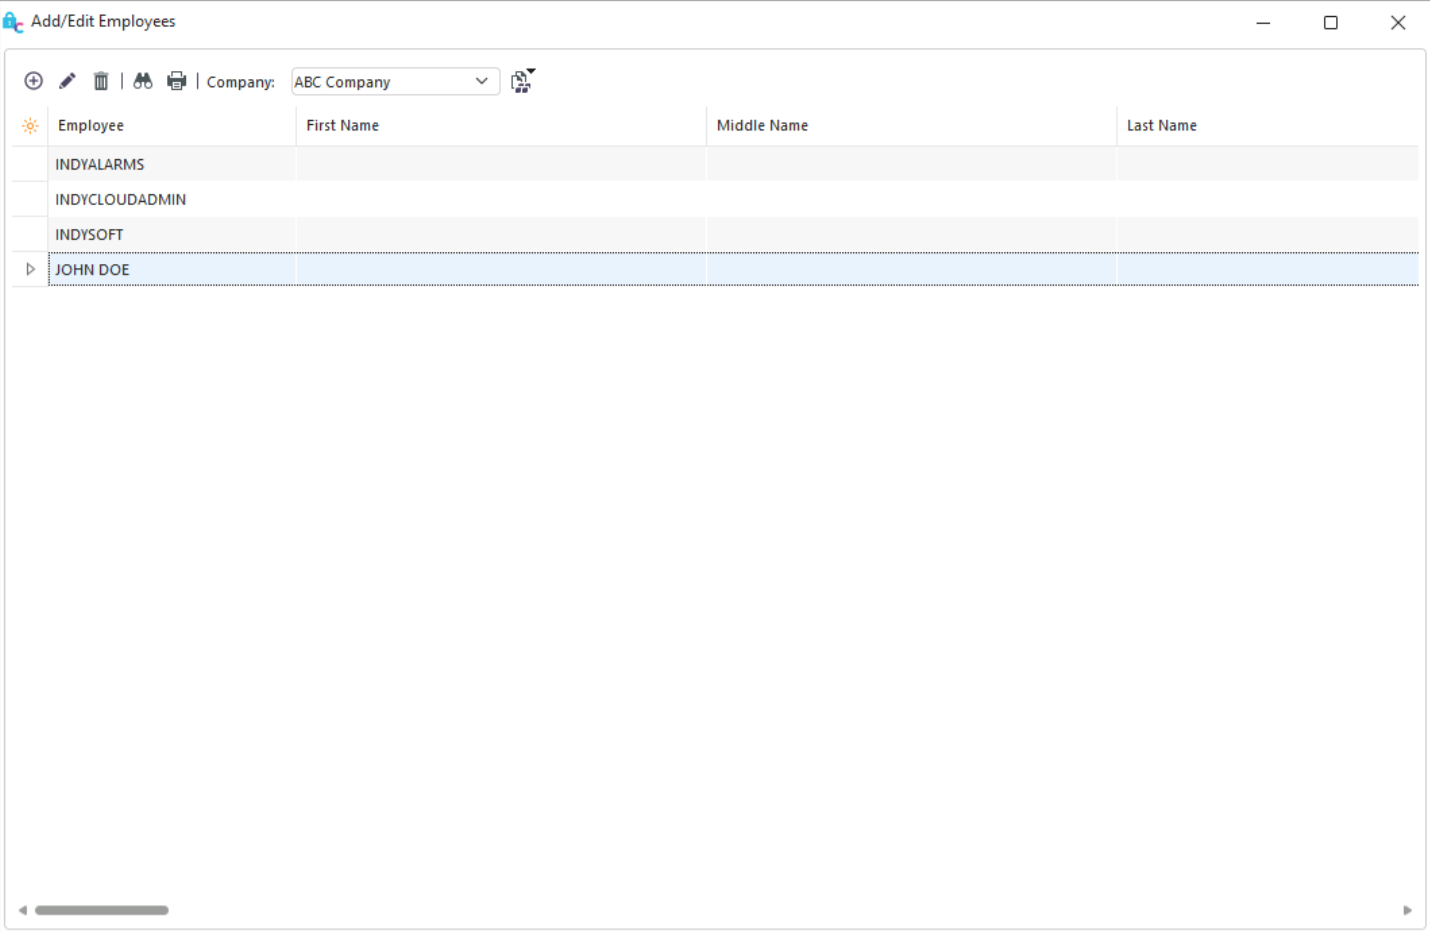
Add the new user/employee by clicking the "Add New" icon![]() on the toolbar. The employee dialog box will open.
on the toolbar. The employee dialog box will open.
If entered in the add/edit user dialog, then the new employee being added will automatically open within the add/edit employee dialog box. Enter all the desired information.
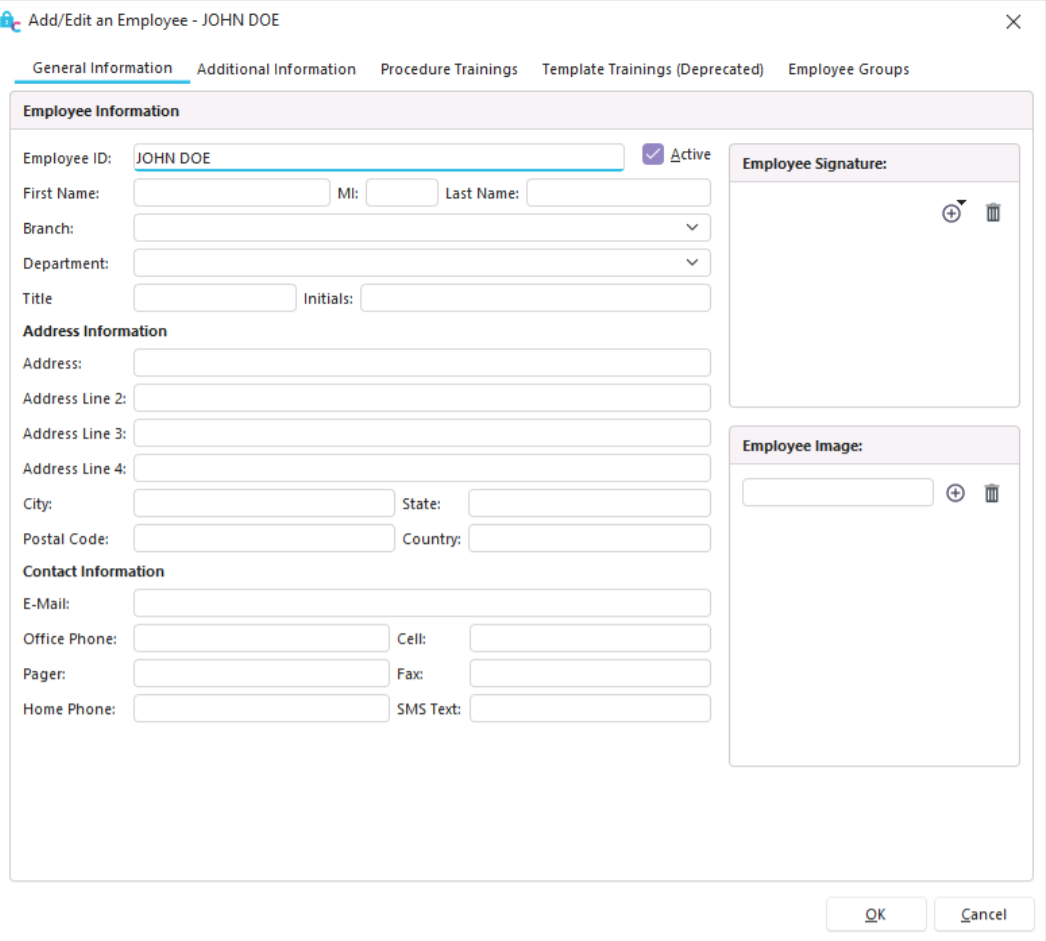
Complete the employee information process and click "Finish."
The new user has now been added to the Employee List. Close the Add/Edit dialog box.
Step 5. From the Employee ID drop-down, select the new user name. This activates the user in the system.
Step 6. Type in the user's full name and click "OK."
Step 7. Select a profile to use. Power User is usually best as it has the highest level of security right below System Administrator. Profiles can be added to a user name by dragging and dropping it on the user name from the Profiles List.
If a user forgets a password, it must be re-entered by the System Administrator. From the Profile Manager, highlight the user name and right mouse click on it. Select the "Edit User" option and re-enter the new generic password. The user can then log on and change the password to their choice. |