Flowchart Editor Menu Items
There are four main menu groups - many of these options are duplicated in the Flowchart Editor Toolbar Buttons and/or right-mouse click options in the flowchart:
·File Menu
·Edit Menu
·View Menu
·Object Menu
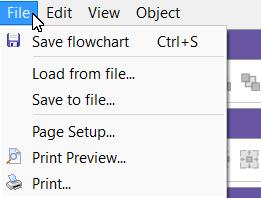
File Menu
File Menu
![]()
This menu option is duplicated in the toolbar. This will save any modifications to the flowchart. If you attempt to close the Flowchart Editor without saving your changes, you will be automatically prompted to save any changes. Note the word 'MODIFIED' that appears in the bottom status bar of the Flowchart Editor after any modifications.
![]()
This dialog is only relevant when printing the flowchart from the Flowchart Editor. And this printing is generally only necessary for convenience - to have a hard copy to aid in any discussions, meetings, etc. When the flowchart is embedded in a Home View or Equipment View, you can right-mouse click on the layout and export it to a pdf file - this will include the flowchart.
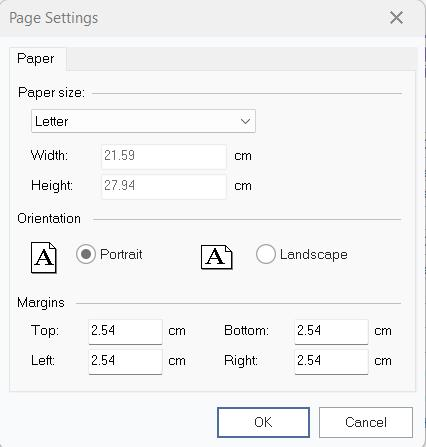
Flowchart Page Setup Dialog
![]()
This menu option is duplicated in the toolbar. This option will preview a print job for the current flowchart. The Page Setup options (above) will be used for any margins and page orientation. Use the buttons above the preview to move between pages and adjust the preview zoom. Press the Print button to print the diagram directly from the preview window.
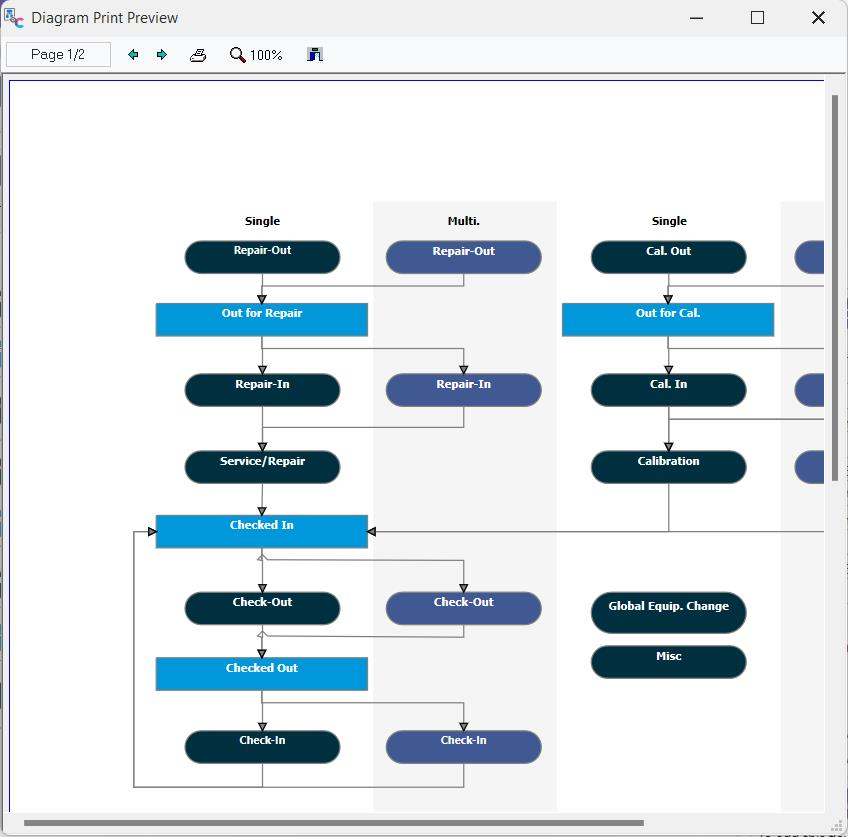
Flowchart Print Preview Dialog
![]()
This menu option is duplicated in the toolbar. This option will send the current flowchart to the selected Windows printer. A print confirmation dialog will be shown before proceeding - use this dialog to confirm the printer, pages, copies, etc.:
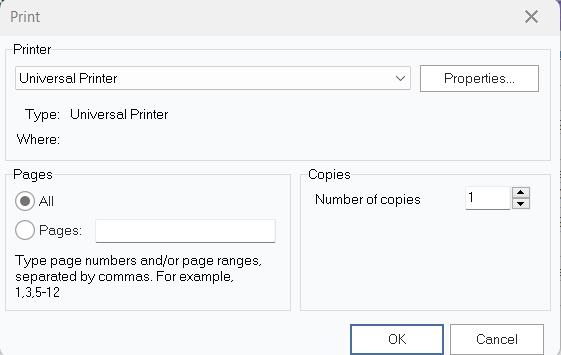
Flowchart Print Confirmation Dialog
Edit Menu
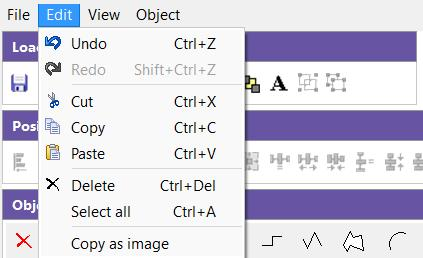
Edit Menu
![]()
Use this option to undo the most recent modification to the flowchart quickly. This is great for fixing mistakes. Multiple operations in the past can be undone in sequence if required.
![]()
Use this option to reapply an action you just 'undid' using the Undo menu option above.
![]()
This option is duplicated in the toolbar. Use this option to cut the selected object or text to the Windows clipboard.
![]()
This option is duplicated in the toolbar. Use this option to copy the currently selected object or text to the Windows clipboard.
![]()
This option is duplicated in the toolbar. Use this option to paste the current contents of the Windows clipboard into the flowchart. This option is only enabled if the Windows clipboard is already populated with an item.
![]()
Use this option to delete the currently selected object from the flowchart. Keeping this keyboard shortcut (Ctrl+Del) in mind is especially helpful when editing the flowchart. Use Ctrl+Del and Ctrl+C, and Ctrl+V to duplicate objects, delete objects, etc.
![]()
Selects all objects in the flowchart.
![]()
Copies the entire flowchart as an image to the Windows clipboard. You could then quickly paste the image into Windows Paint, Word, etc.
View Menu
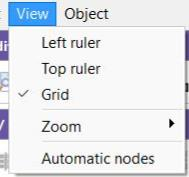
View Menu
![]()
Enable this option to show a ruler on the left side of the flowchart. This ruler is for reference and will not be displayed when the flowchart is used in the Dashboard view. Note that this ruler requires additional width when being displayed - so you might want to hide the ruler(s) before selecting the final size of the flowchart (resize panels surrounding the flowchart). If the 'Grid' menu option is selected along with 'Left Ruler,' then you will see horizontal lines in the background on the flowchart corresponding to the ruler increments.
![]()
Enable this option to show a ruler on the top of the flowchart. This ruler is for reference and will not be displayed when the flowchart is used in the Dashboard view. Note that this ruler requires additional height when being displayed - so you might want to hide the ruler(s) before selecting the final size of the flowchart (resize panels surrounding the flowchart). If the 'Grid' menu option is selected along with 'Top Ruler,' you will see vertical lines in the background on the flowchart corresponding to the ruler increments.
![]()
This option works with the abovementioned 'Left ruler' and 'Top ruler' options. When this option is selected along with one or both of the ruler options, lines will be shown in the background of the flowchart corresponding to the ruler increments. These grid lines are only for reference - and will not be duplicated in the flowchart when displayed in the Dashboard view. Note: if you currently use a gray background for your flowchart, these grid lines might 'blend in' and appear invisible - try switching to a white background during design.
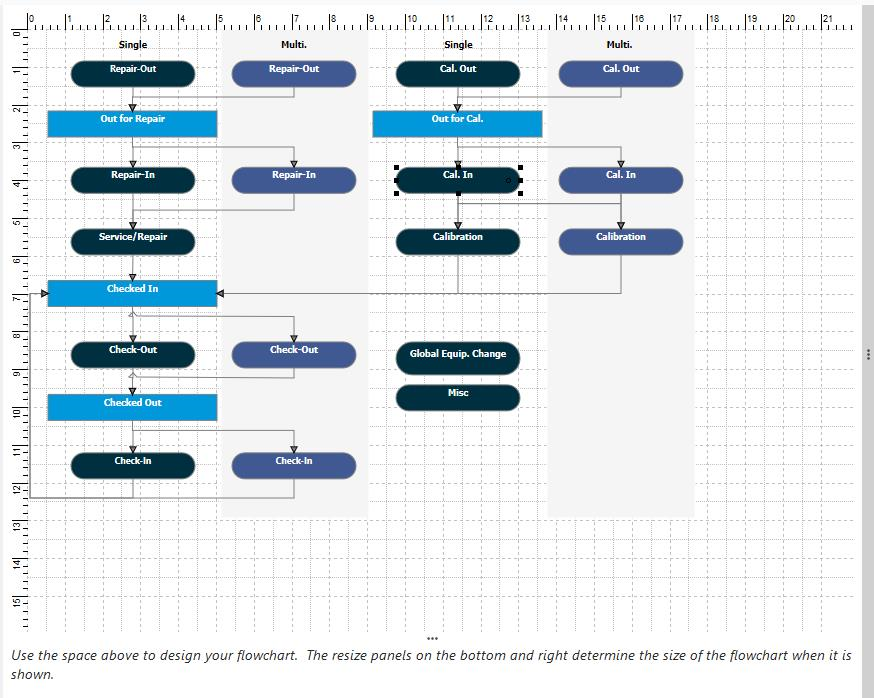
Grid Example - Flowchart Editor
![]()
Use this option to zoom the flowchart for easier reading during design. 100% represents the normal view, higher values will make the flowchart appear larger (zoomed in), and smaller values will make the flowchart appear smaller (zoomed out). Note: This value is different than the 'Initial Zoom (Right Panel)' setting on the 'Equipment View Options' on the Options tab. This 'Options' setting refers to the initial zoom used when the flowchart is shown in the Right Side Panel on the Equipment View. The 'Zoom' menu setting here refers to the state of the flowchart when being designed in the Flowchart Editor.
![]()
Use this option to create nodes for expanding/collapsing sections of the flowchart. These nodes can give the user the option of showing/hiding sections of the flowchart to simplify the view. Note that these nodes will only work properly if all the objects linked to the node (or linked to child objects, etc.) are not linked back to objects that occur 'before' the current node. Suppose you have a circular flowchart (which is very common in asset control flowcharts) - where events lead to other events that eventually lead you back to the same events for another round-trip, etc. In that case, using nodes will not be effective.
Object Menu
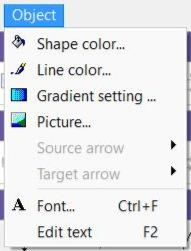
Object Menu
![]()
This option is duplicated in the toolbar and as a right-mouse click option in the flowchart. Use this option to select a color for the currently selected shape in the flowchart. Choose from one of the 48 default colors or press 'Define Custom Colors' to create your colors.
![]()
This option is duplicated in the toolbar and as a right-mouse click option in the flowchart. Use this option to select a color for the currently selected line in the flowchart. Choose from one of the 48 default colors or press 'Define Custom Colors' to create your colors.
![]()
This option is duplicated in the toolbar - although with a slightly different interface. When the menu option is selected, you will see the dialog below:
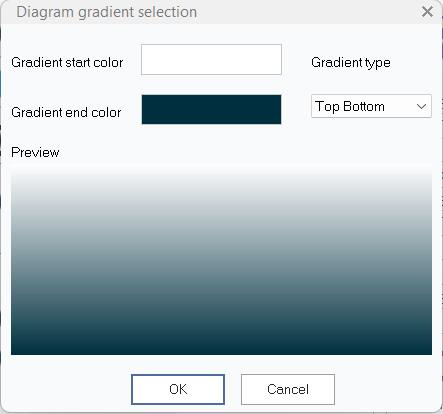
Diagram Gradient Selection Dialog
Select the starting and ending colors and the Gradient Type. All options will be shown in the preview at the bottom of the dialog. To clear the use of all gradients for the current object, use the equivalent toolbar option and select 'No Gradient.'
![]()
This option is duplicated as a right-mouse click option on selected objects in the flowchart. Use this option to browse your file system for a picture that will be used in the background of the currently selected object. Most major image-based file types are supported. To clear a previously selected image, right-mouse click on the object and select 'Clear Image.'
Note: Only one object type displays without a border and is transparent around any text or picture - the 'Text' object is available on the 'All objects' tab. So if you want ONLY to show the image, this object is the correct choice. If you want an image in the background of a box, then a normal Flowchart object will suffice.
![]()
This option is only relevant if the currently selected object in the flowchart is a line. Each line can have an arrow added to the start (source) and end (target) of the line. Use this option to specify the look of the source arrow. The available options are:

Note: new arrows default to a smaller size of 'Solid arrow' that is light gray, allowing for smaller flowcharts. Sticking with this default can save time and keep things consistent.
![]()
This option is only relevant if the currently selected object in the flowchart is a line. This option works just like the 'Source arrow' option above but relates to the end (target) of the line instead of the start (source).
![]()
This option is only relevant if you have a flowchart object (not a line) currently selected. This will display a familiar font options dialog for modifying the font settings for the current object:
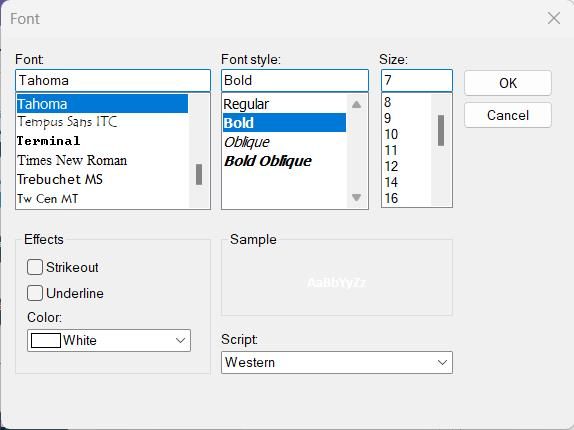
Font Options Dialog
![]()
Use this option to modify the text of the currently selected object. This is only relevant if the current object is a flowchart box or other object that can have associated text. Text is modified within the box - press Return to commit your changes. |