Single-User Client Installation
![]() Important: Installation of IndySoft Client requires Administrator rights in Windows. Please confirm these credentials before proceeding.
Important: Installation of IndySoft Client requires Administrator rights in Windows. Please confirm these credentials before proceeding.
Choose Product Type / Database Type / Tier
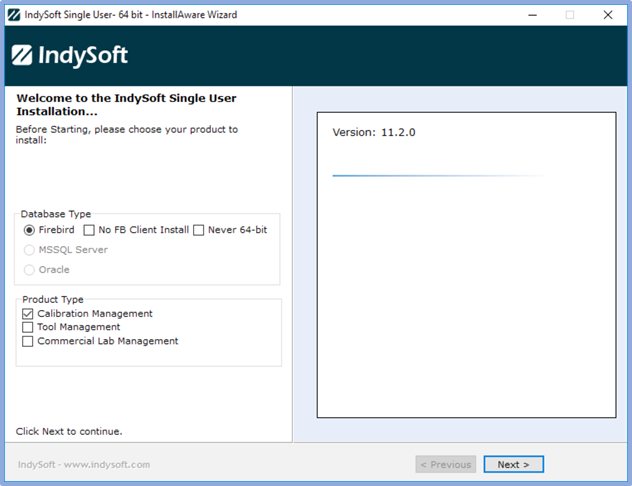
Single-User Client Installation - Choose Product Type / Database Type / Tier
![]() Note: This 'Choose Product Type' step (shown above) might be skipped in your installation of IndySoft. The installer is smart enough to note any encoding of the Tier, Database Type, and Product Type into the install executable file name. This step is skipped if the installer file name already provides all of this information.
Note: This 'Choose Product Type' step (shown above) might be skipped in your installation of IndySoft. The installer is smart enough to note any encoding of the Tier, Database Type, and Product Type into the install executable file name. This step is skipped if the installer file name already provides all of this information.
When installing the Single-User version of IndySoft, the tier is always '2-Tier', and the Database Type is always 'Firebird,' so the only actual selection needed is for the 'Product Type.' You should select only the product type that has been purchased from IndySoft. After client installation (and establishing database connectivity), you will communicate with IndySoft to register the database with your license - and this will need to match the product type installed/purchased.
The 'Never 64-Bit' option can be used in rare instances on a 64-bit operating system where you need to access an older InSite Version 8 Single-User client/database from the same workstation where you will also be running an IndySoft Version 9 database. Only select this option if instructed by IndySoft Support. (Explanation: Version 9 requires Firebird 2.5, and InSite requires Firebird 1.5, and installing a 64-bit Firebird is incompatible with a simultaneous installation of Firebird 1.5. So, this option is provided as a workaround. This option will force the installation of the 32-bit version of Firebird 2.5 for use with IndySoft Version 9 rather than the 64-bit version. This option is irrelevant if you are currently running a 32-bit operating system.) Press Next to proceed.
Repair/Uninstall
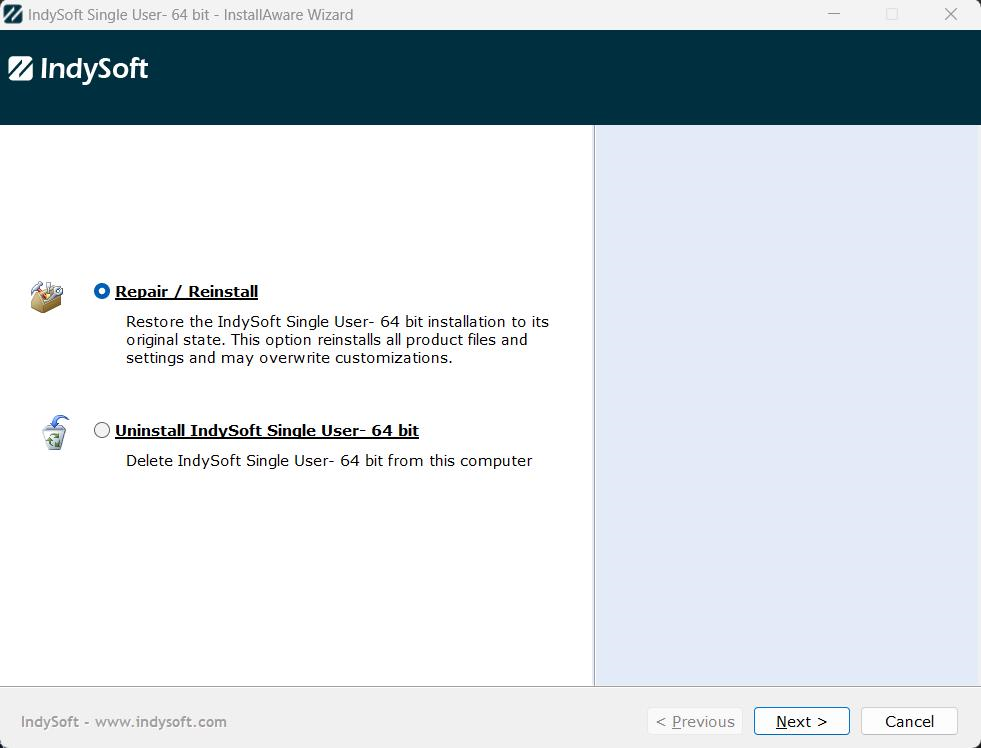
Single-User Client Installation - Repair / Uninstall (Only seen if previously installed)
The repair/uninstall step (shown above) will only be displayed if you have previously installed IndySoft on this workstation. The installation typically requires a complete uninstall before the product can be re-installed. If in doubt, select 'uninstall' and press 'Next'. The wizard will alert you that it is ready to proceed with the update (the uninstall) - press Next to complete the uninstall. This will only take a few seconds, and then you will be returned to the Welcome screen below - which for new users is the first step seen:
Welcome
Single-User Client Installation - Welcome
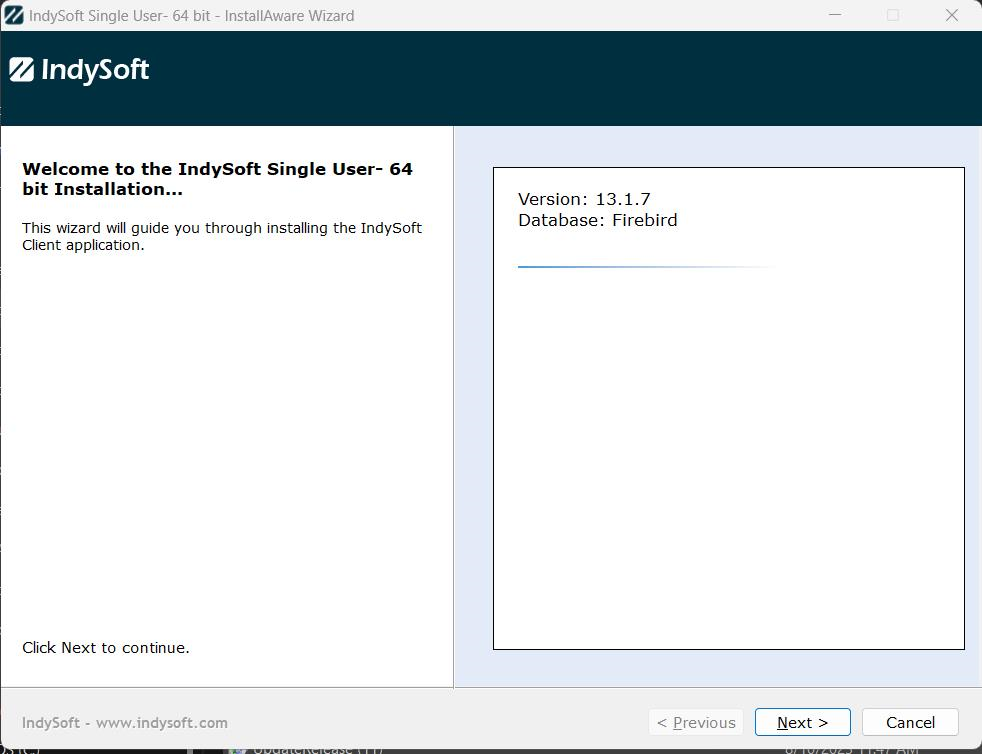
This Welcome screen reminds the user of the IndySoft Version, Database Type, Single-User or Multi-User installation type, and product type (shown in boldface on the right). Confirm all this information is correct and press 'Next' to proceed.
License Agreement
Single-User Client Installation - License Agreement
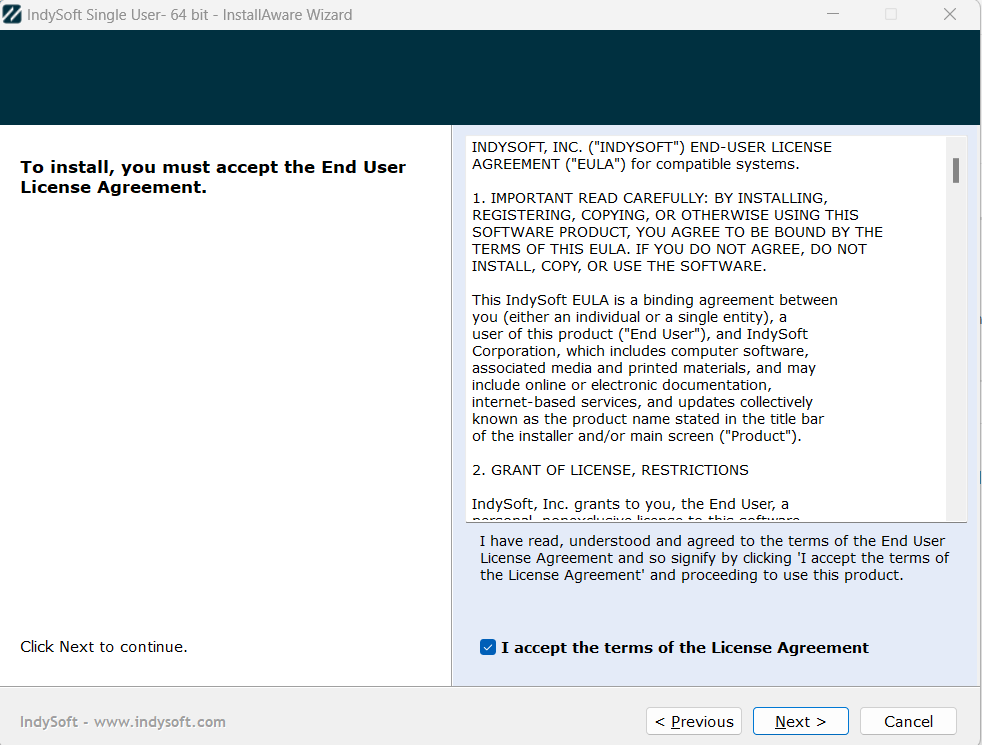
It would not be a software install without a license agreement... Confirm the License Agreement, check 'I accept...', then press 'Next' to proceed.
Choose Application Folder
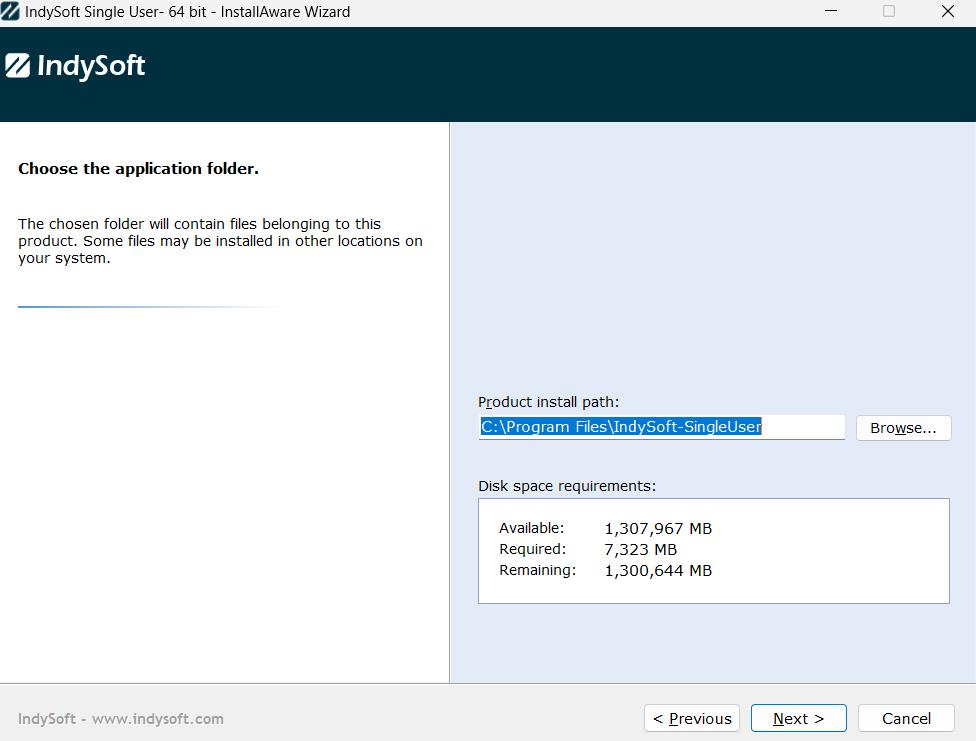
Single-User Client Installation - Choose Application Folder
Use this installation step to confirm/select the folder where IndySoft will be installed. By default, the Single-User IndySoft Client is installed to:
C:\Program Files (x86)\IndySoft-SingleUser
Or, if you are not installing to a 64-bit operating system in Windows, then the default will be 'Program Files'. Use the 'Browse' button to make an alternate selection if desired.
Choose Start Menu Group
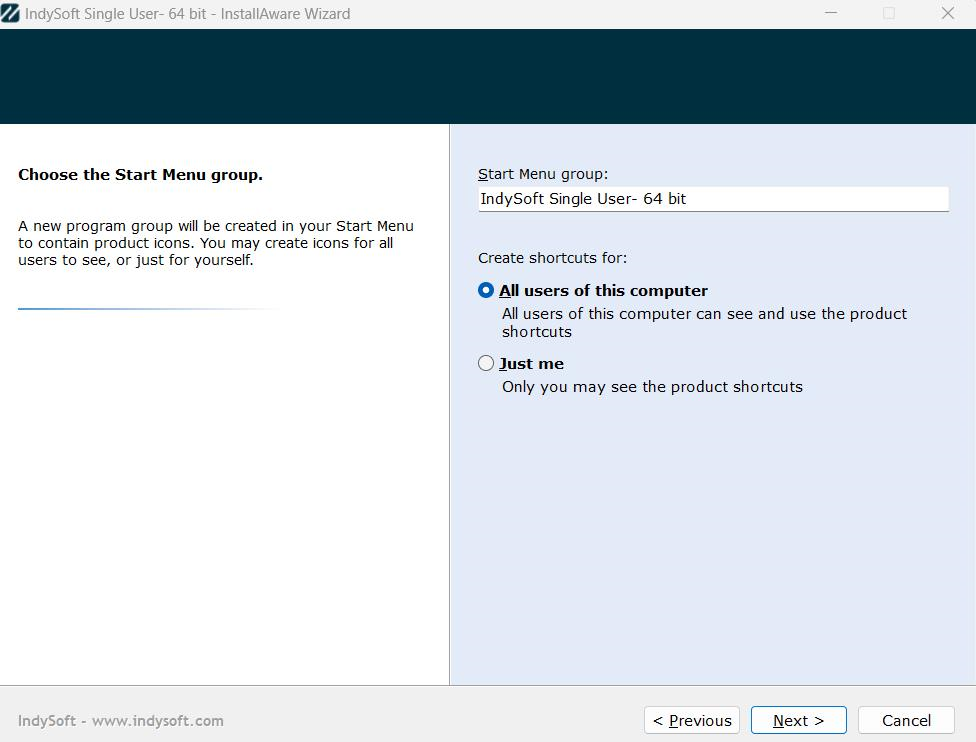
Single-User Client Installation - Choose Start Menu Group
The installation of the IndySoft Single-User Client will create a program group on your Start Menu with the name specified in this step. Shortcuts for launching the most essential IndySoft utilities will be created in this group. The shortcuts/groups can be created for all users on your computer or only for your current Windows user name.
Ready To Install

Single-User Client Installation - Ready to Install
This step confirms that all selections/settings are in place and the installation is ready to begin copying files—Press 'Next' to proceed.
Installing Files
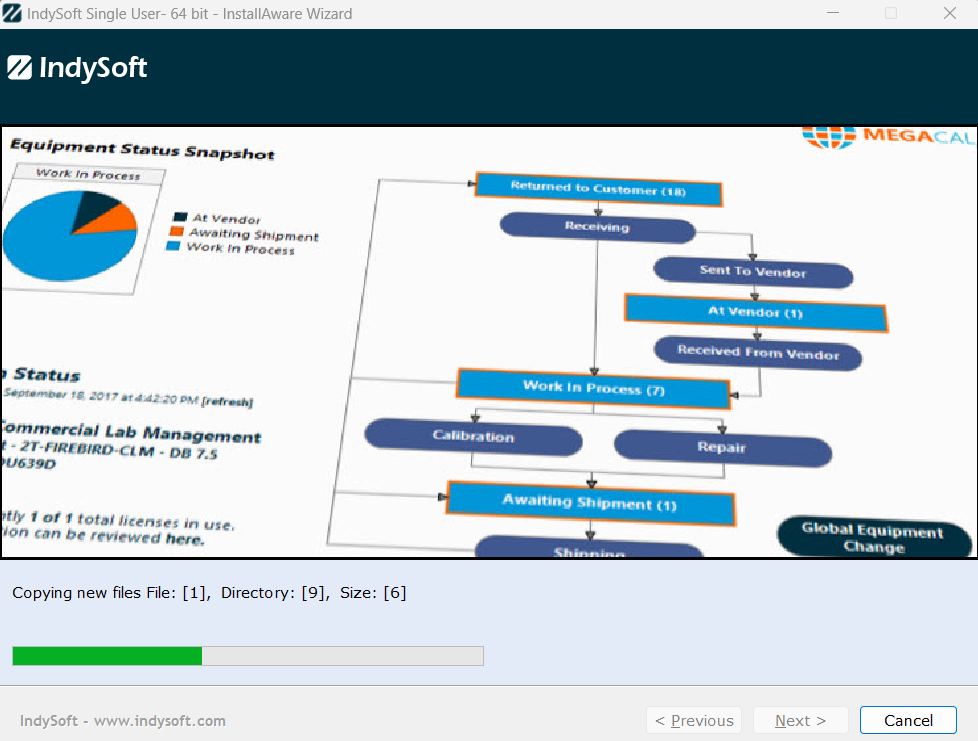
Single-User Installation - Installing Files
This step will be shown while all files are being copied to the installation directory (or other required locations). The progress bar will be updated as files are copied.
Setup Complete
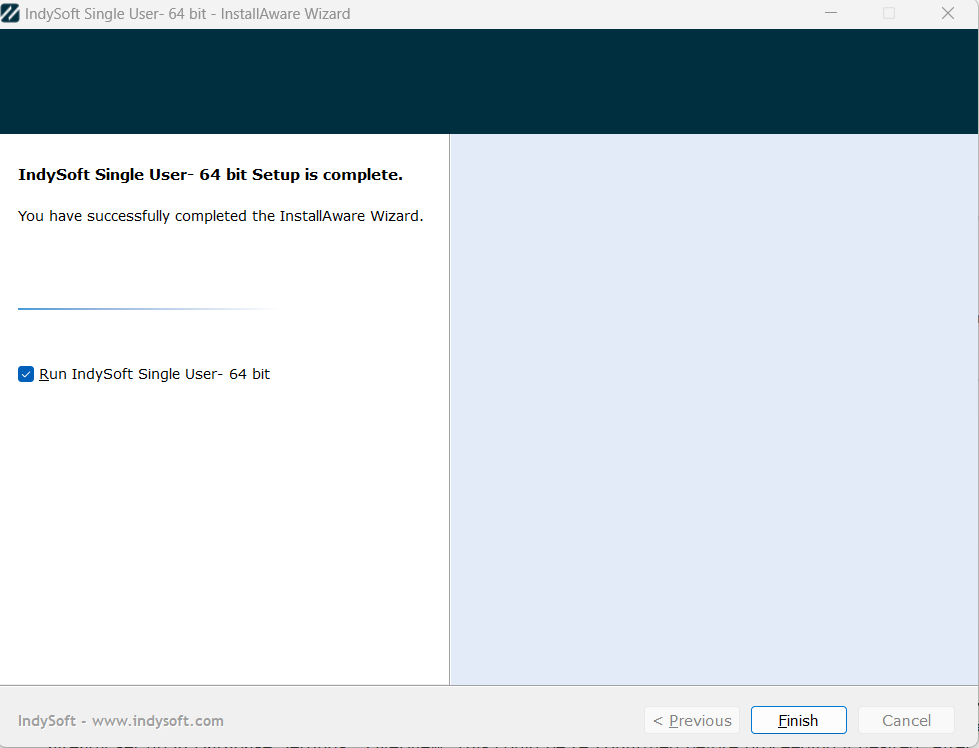
Single-User Installation - Setup Complete
This step confirms that the installation has been completed and you are ready to use IndySoft. But first, you will want to verify/set connectivity to the Single-User database. If this is the very first installation on this workstation, then the location of the database was pre-decided by the installer, and its location is already set up in Database Settings - Overview. This could be re-confirmed before proceeding if desired. After pressing 'Finish' you will be prompted to confirm connectivity settings:

Confirm Database Connectivity
The important step to note is 'Database Connectivity.' See Database Connectivity - Single User Firebird for more details.
Once database connectivity is confirmed, launch 'IndySoft Client' from the 'IndySoft Single User' program group (isdashboard.exe) to begin using IndySoft. |