Document Scanning Wizard
The Document Scanning Wizard can be started from within the Document section of an Event Step.
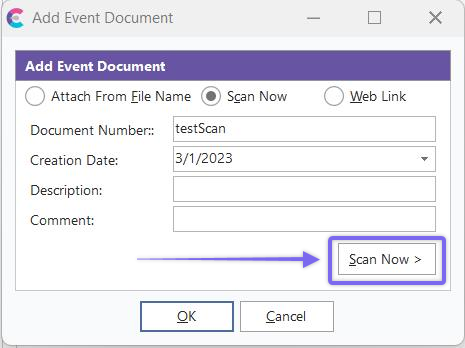
Add Event Document - Scanning Wizard
Add a Document Number and Creation Date. Ensure you have the document you want to be scanned in the scanner or feeder. Click 'Scan Now>.' A 'Select Source' dialog will pop up:
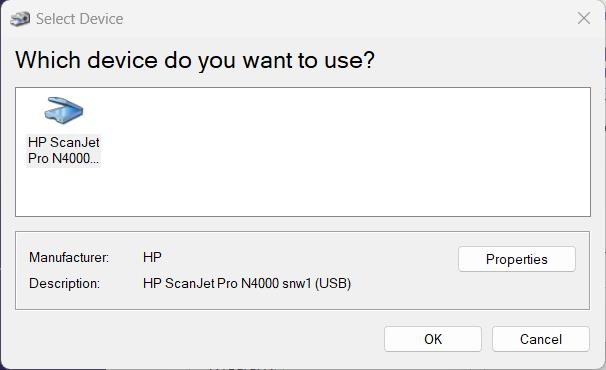
Select Scanner Source
Select the appropriate scanner and click 'Select'; scanning will begin after warm-up. Scanning will then begin automatically.
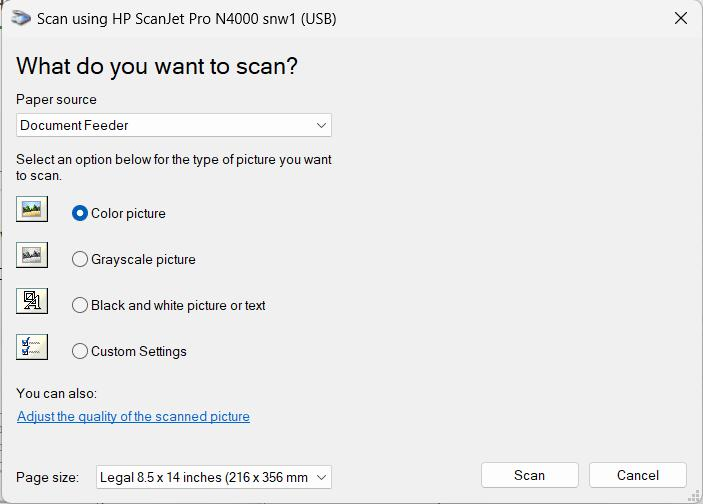
Scanning Source Settings
You will see the scanned image in the Document Scanning Window when scanning is complete.
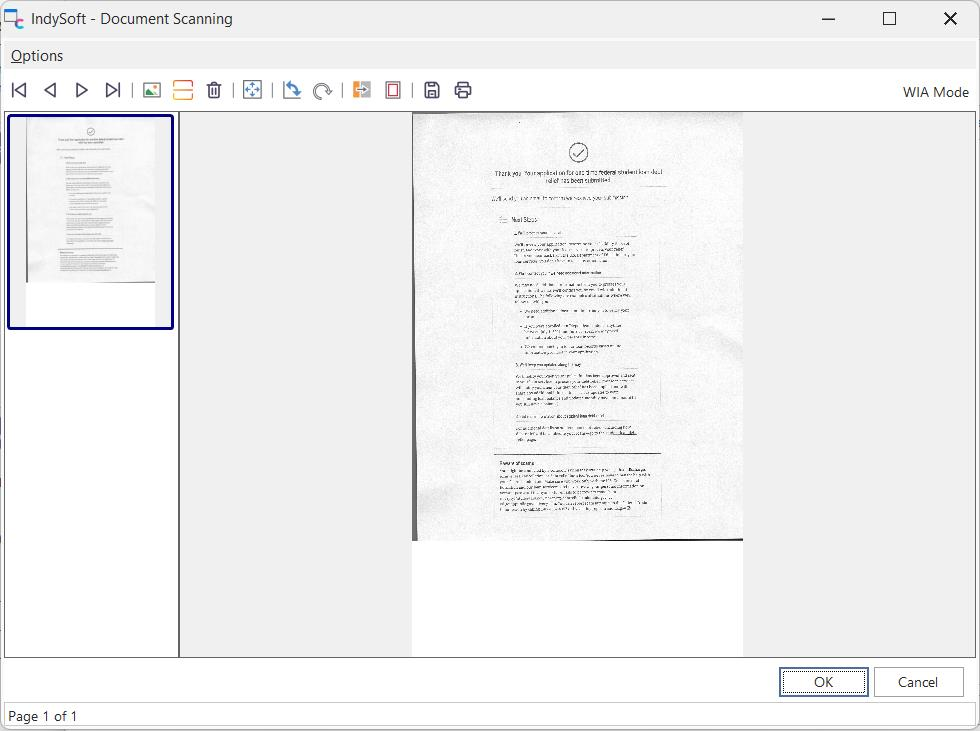
IndySoft - Document Scanning Wizard
Make Any Necessary Modifications
You will see the scanned document within a viewing window during this step. When the item has been successfully scanned, several options are available on the top header bar:
![]() Use these navigation buttons to go back and forth through the scanned pages.
Use these navigation buttons to go back and forth through the scanned pages.
![]() Click this button to search for a Tif, Jpg, Gif, Pcx, Tga, or Bmp file format on your local workstation or network to add to the scanned file.
Click this button to search for a Tif, Jpg, Gif, Pcx, Tga, or Bmp file format on your local workstation or network to add to the scanned file.
![]() Clicking this button will open the 'Select Source' window so another document can be scanned and attached to the current scanned image.
Clicking this button will open the 'Select Source' window so another document can be scanned and attached to the current scanned image.
![]() Clicking the trash can icon will delete the currently selected page in the left pane.
Clicking the trash can icon will delete the currently selected page in the left pane.
![]() This button will fit the entire image into the visible window, shrinking the width and height proportionally until the whole document can be seen.
This button will fit the entire image into the visible window, shrinking the width and height proportionally until the whole document can be seen.
![]() This option will turn the TIF image 90 degrees on its side. Frequently, images are scanned upside down accidentally. In this case, rotate the image 90 degrees twice in a row.
This option will turn the TIF image 90 degrees on its side. Frequently, images are scanned upside down accidentally. In this case, rotate the image 90 degrees twice in a row.
![]() Using this button, the user can rotate the image at a specific angle and input it through a small 'Enter Angle' dialog.
Using this button, the user can rotate the image at a specific angle and input it through a small 'Enter Angle' dialog.
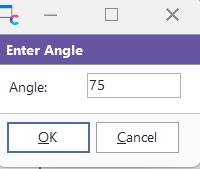
Negative Numbers are also allowed. Note: Rotating a TIF image will frequently lower the 'readability' of the image - leaving text somewhat blurred.
![]() If this button is pressed, all colors will be changed to their exact opposite (for example, black becomes white, and white becomes black.)
If this button is pressed, all colors will be changed to their exact opposite (for example, black becomes white, and white becomes black.)
![]() Pressing this button, excess white space will be trimmed from the edges of the scanned document. This can significantly reduce the saving of a document, helping save disk space.
Pressing this button, excess white space will be trimmed from the edges of the scanned document. This can significantly reduce the saving of a document, helping save disk space.
This button will prompt for a file location, so the scanned image can be stored on your hard drive as an Adobe PDF file.
![]() This button lets you print the currently scanned image on the default Windows printer.
This button lets you print the currently scanned image on the default Windows printer.
Left-click on the scanned image in the center of the window to ZOOM IN. Right Click to ZOOM OUT.
Clicking 'OK' will add the scanned document to the documents grid in the event. |