Equipment Finder - Advanced Equipment Selection
The EquipmentFinder utility is very useful for finding a particular piece of Equipment with an advanced filter. You can load, save, clear, delete, and test your filters using the buttons above the filter. If you want to test the statement to see how much equipment would be selected, press the stopwatch button in the middle of the screen. When you are ready to choose the selected equipment, press the blue single down arrow. To remove one item from the selected equip. section, simply highlight it and press the blue up button. To remove all equipment from the Selected Equip. section, press the blue double arrow up button.
For this tutorial topic we will look at the Advanced Equipment Selection. For information on the SQL Based Selection see the IndySoft User Manual.
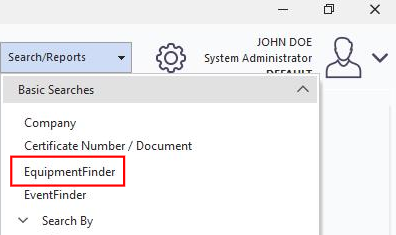
To launch the EquipmentFinder, select "Search-By" on the main screen menu. You will see the EquipmentFinder feature at the bottom of the drop down menu.
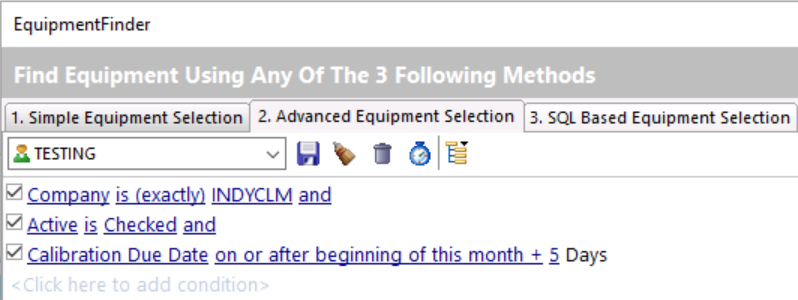
The Advanced Equipment Selection allows the user to search for equipment based on detailed filter criteria.
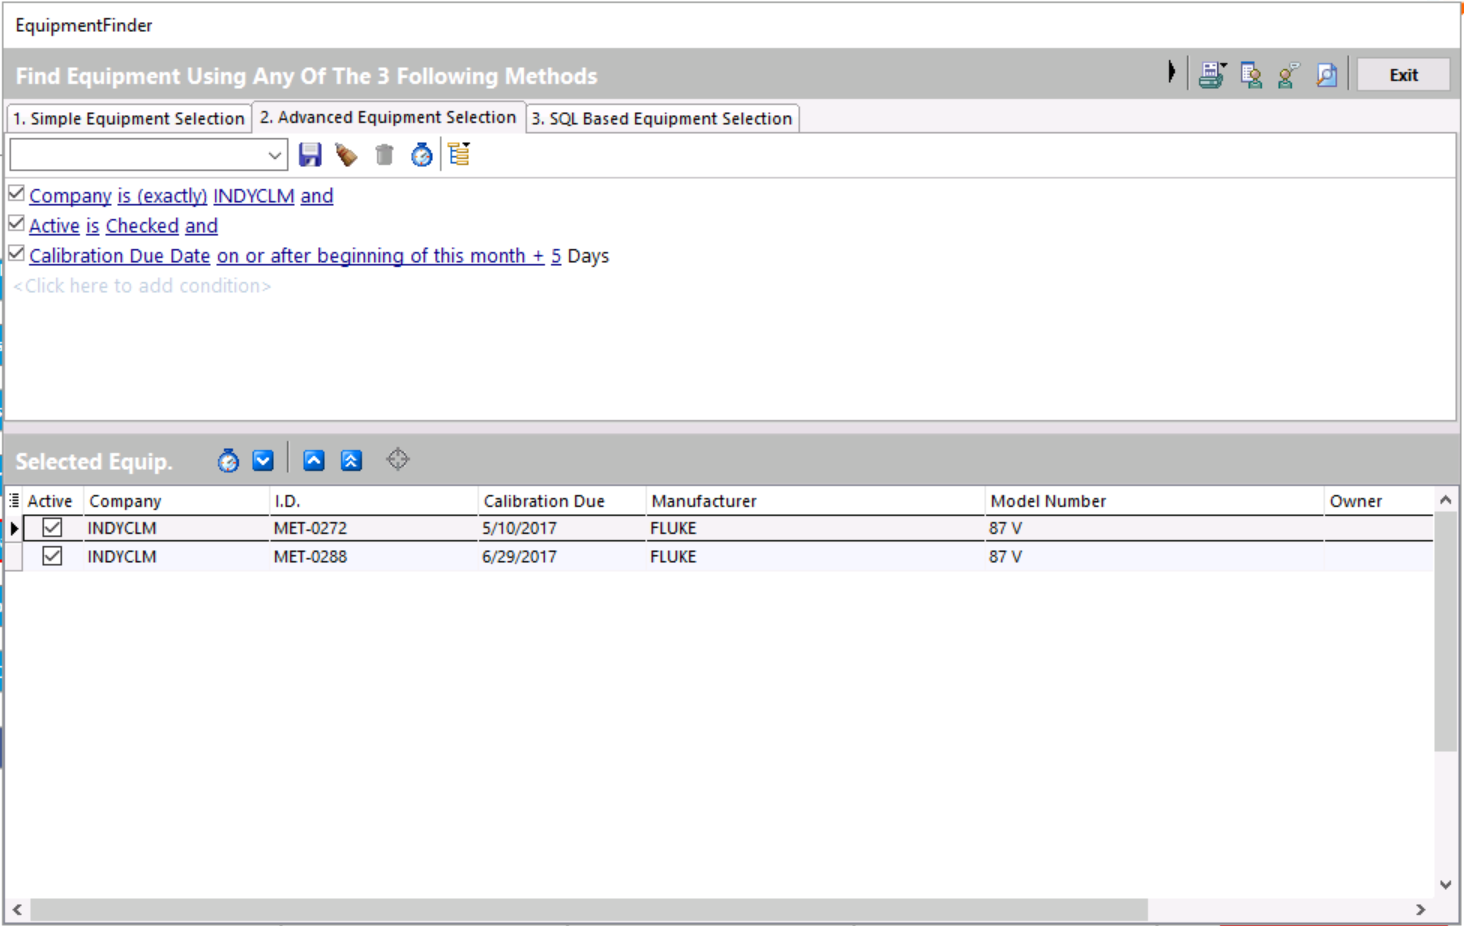
![]() The Advanced Equipment Selection Toolbar contains (from left to right) "Save", "Clear Equipment Selection", "Delete", and "Test Equipment Filter"
The Advanced Equipment Selection Toolbar contains (from left to right) "Save", "Clear Equipment Selection", "Delete", and "Test Equipment Filter"
When you find a search combination that works well for you, save the search for future use. Below is an example of a search that can be saved for use to all users of the system or just the current user. Once the filter set-up was completed, it was tested (using the stopwatch icon) to see how many pieces of equipment would be returned for processing. By using the filters, this narrowed the search down to only a few items that met those particular criteria. This is a real time saver as it cuts down on the amount of equipment that is actually needed for the search. Click "OK."

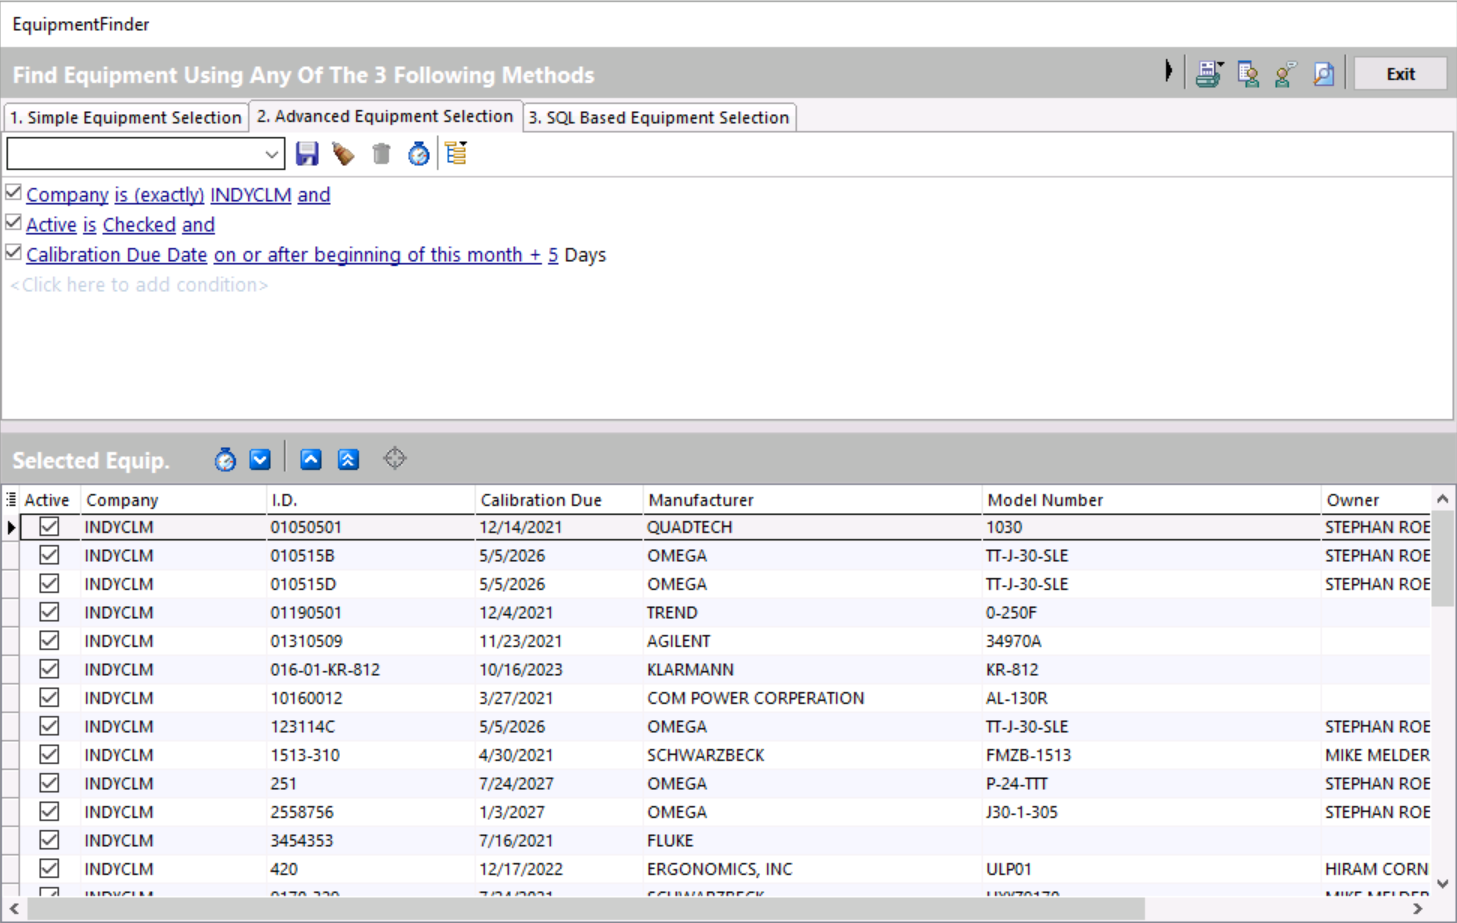
By clicking the blue down arrow![]() , The information is processed successfully and place in the Selected Equipment grid.
, The information is processed successfully and place in the Selected Equipment grid.
To save the search, click the "Save" icon the dialog box shown below will be displayed. Name the search. You also have the option of making the search visible to all users of the system globally.
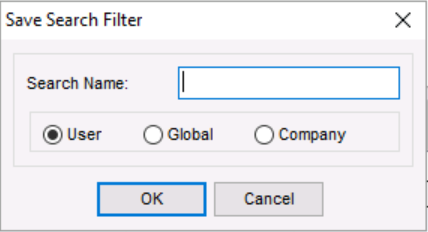
Search saved. It will now be available in the drop-down list. You can save as many searches as you like. each time you open the EquipmentFinder, they will be available for use. You can also delete a search any time you like.
Once you have made your choices, you can now use the icons at the top right of the screen to process the information.
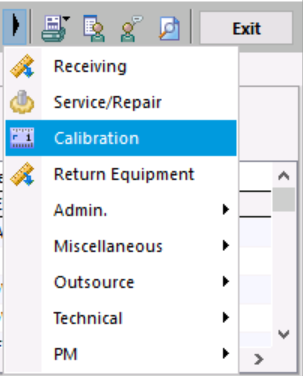
The black arrow icon![]() opens the events dropdown. You can perform any of these events for one or all of the gages from the EquipmentFinder.
opens the events dropdown. You can perform any of these events for one or all of the gages from the EquipmentFinder.
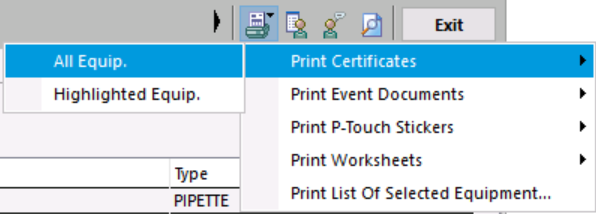
The Print icon![]() allows the user to select and print documents from the equipment that were selected in the equipment grid. For example, if you wanted to print all the Worksheets for the equipment, all you would have to do is select the "Print All Equipment" feature or you can simply choose one gage that is highlighted and print that one.
allows the user to select and print documents from the equipment that were selected in the equipment grid. For example, if you wanted to print all the Worksheets for the equipment, all you would have to do is select the "Print All Equipment" feature or you can simply choose one gage that is highlighted and print that one.
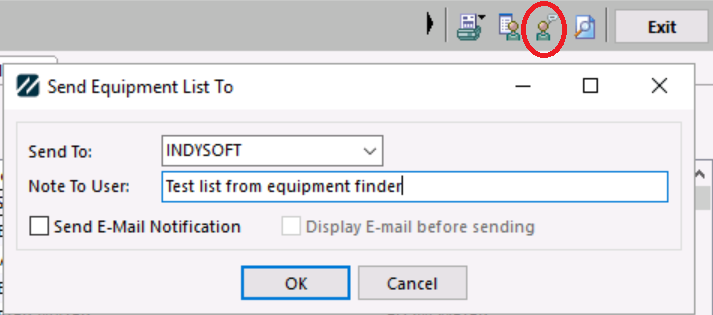
If you wish to send the gage information in the grid to another user, you can do that by clicking the "Send to Another User" icon![]() . When you open the dialog box, you will be prompted to choose a user name to send the gage information to as well as writing a short note if you like. The gage information will be sent to an IndySoft user within your company. You can also send them an e-mail if you wish that will go directly to their inbox. The "Send to User" function is more like an instant message pop-up that will display on the user screen.
. When you open the dialog box, you will be prompted to choose a user name to send the gage information to as well as writing a short note if you like. The gage information will be sent to an IndySoft user within your company. You can also send them an e-mail if you wish that will go directly to their inbox. The "Send to User" function is more like an instant message pop-up that will display on the user screen.
The last icon we will look at is the "View Item" icon![]() . This selection will display the highlighted gage on the main screen and will close the EquipmentFinder. |
. This selection will display the highlighted gage on the main screen and will close the EquipmentFinder. |