Equipment Images
In the new version 13 equipment field layouts, Equipment Images are now displayed within the detail tab labeled "Flowchart/Images" within the bottom panel:
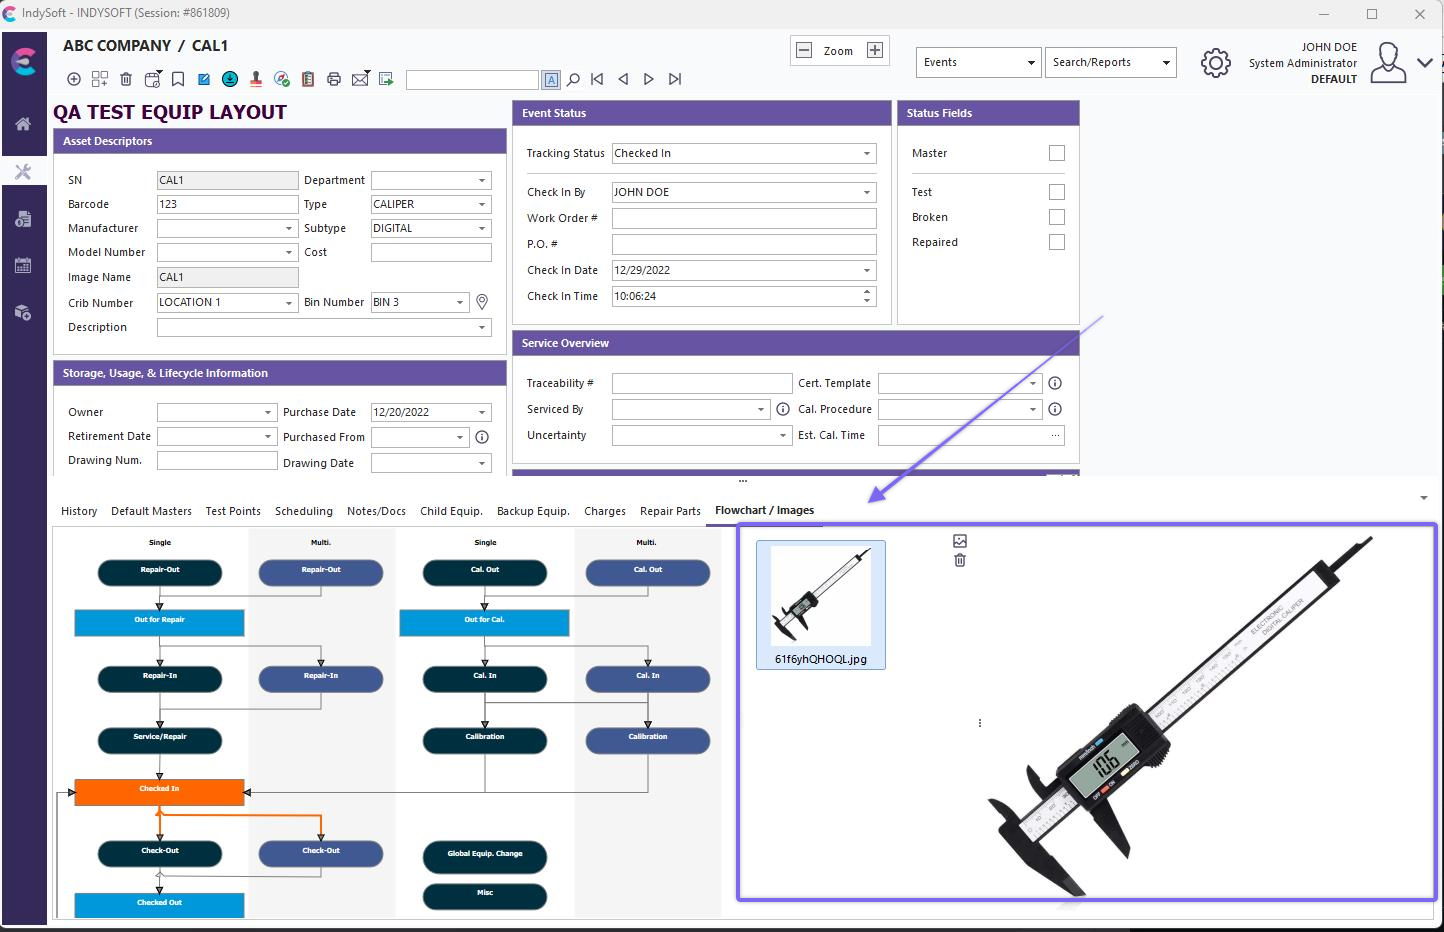
Equipment View - Image Detail Tab
In old equipment layouts (prior to v13), Equipment Images can be displayed in one of two locations on the Equipment View tab:
1. Embedded within the Equipment View (any location)
2. On the bottom of the right-side panel.
Embedded Within Equipment View
To embed an equipment image in the Equipment View, use LayoutBuilder...Equipment Layouts...Hyperlinks (General) and place the text below at any location within the Equipment View:
!EQUIP_IMAGE_INSERT!
When the Equipment View is drawn/refreshed, this text will be replaced with the image in the database (if any) that is saved for this asset. If no image is available/set, this text is replaced with empty text. You might elect to show the image on the bottom of the Equipment View - so any large images do not displace other important field text:
Example - Equipment Image Embedded in Equipment Layout - Bottom
Right-Side Panel
The equipment image is also embedded in the right-hand panel. It will appear within the status tab in the right-side panel:
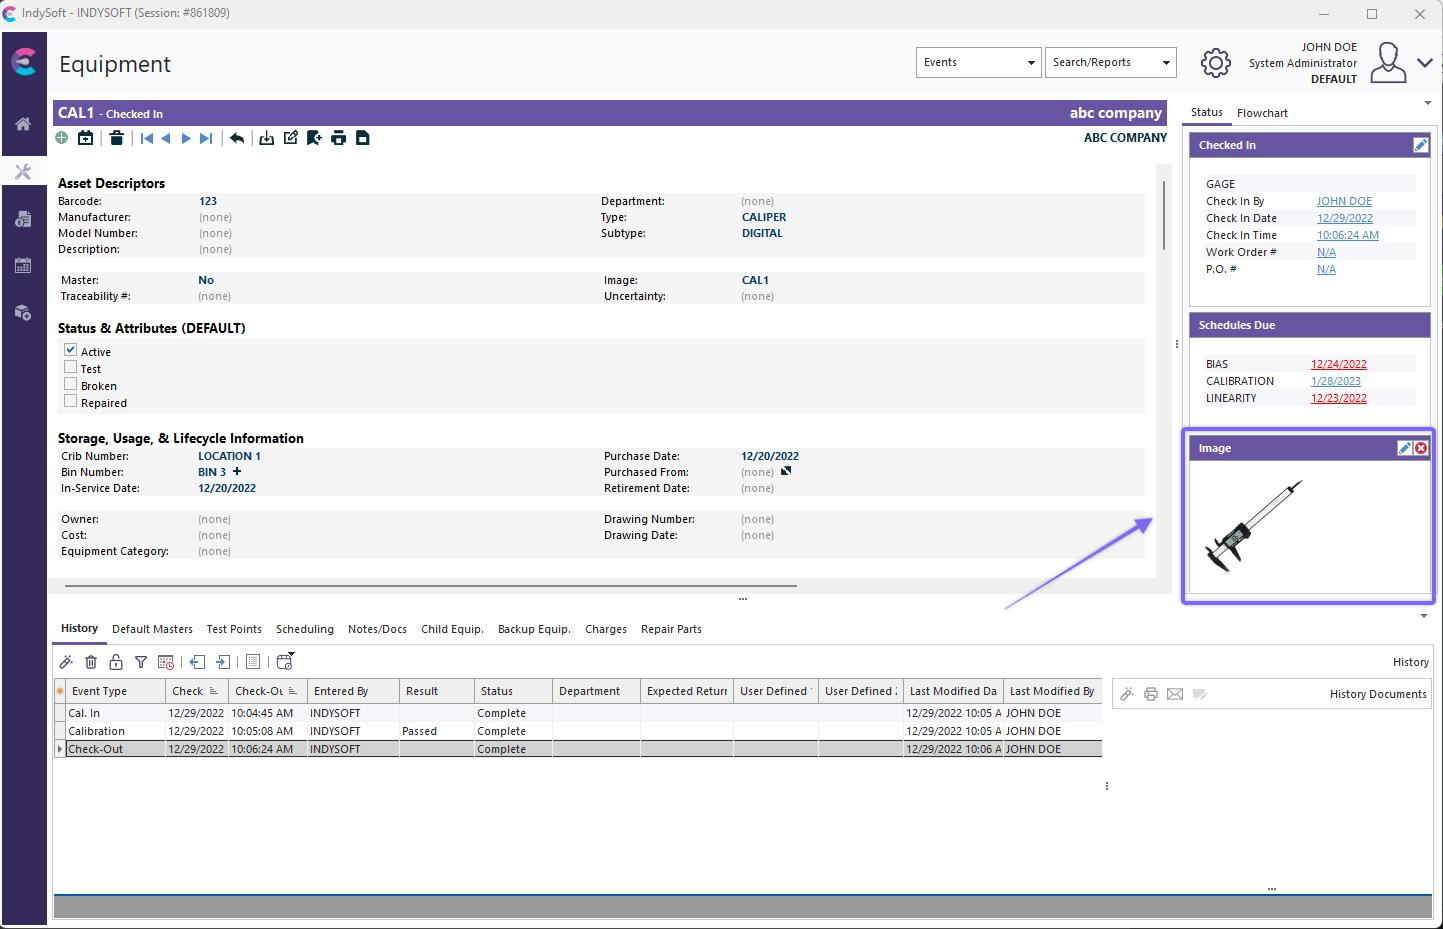
Example - Equipment Image in the Right-Side Panel
Note that when the image is shown in the right-hand panel, the image size is scaled to fit inside a resizeable panel. If you would like to modify the image size, resize the panel's height - the image width will also increase/decrease proportionally.
Setting Equipment Image Through Equipment Layout Field
To set/modify the equipment image for the current asset, click on the 'Image' hyperlink in the Equipment Layout. 'Image' is the name of the hyperlink in the default layouts - but it can be modified in the Equipment Layout:
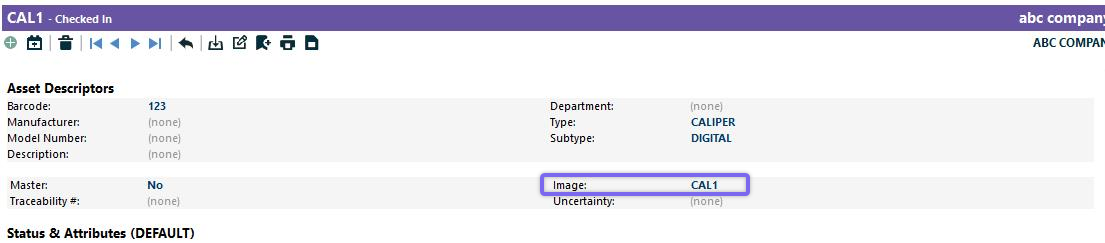
Modify Image Field
Clicking on this hyperlink will display a popup message with two options:
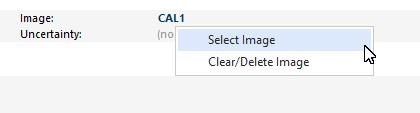
Choose 'Select Image' to set/change the image and choose 'Clear/Delete Image' to remove the image. When selecting an image, you will see the dialog below:
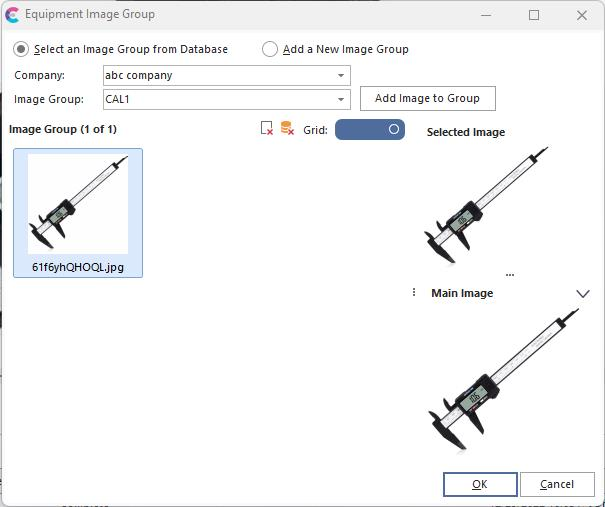
Select An Image
Use this interface to select an image from the database (an image already added previously through this dialog) or add a new image. When adding a new image, press the 'ellipsis' button for 'File Name' and select a jpeg image. After selection, a preview of the image will be shown. Press OK to confirm.
When clearing/deleting an image, you will be presented with three options:
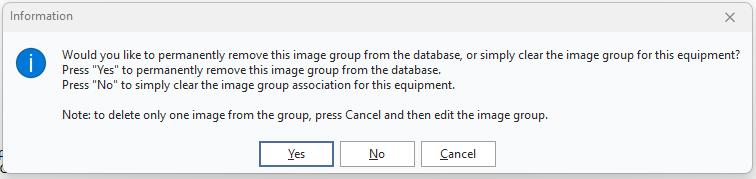
Clear/Delete Image Options
Selecting 'Yes' will clear the current asset's image and permanently delete the image from the database. This will also make the image unavailable for display on other assets. Selecting 'No' will clear this image for use on the current asset. Press 'Cancel' to abort the operation. |