Layout Editor Ribbon...Editing...Object

Editing...Object Operations
![]() Picture
Picture
This option can be used to insert a picture of the document's current caret position. The following dialog will be displayed:
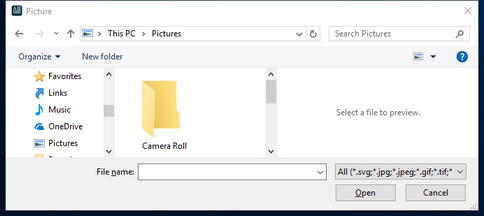
Picture Selection Dialog
Use the file selection dialog to locate the picture and press 'Open.' Selected images can be previewed to the right - note the image size above the preview. Most common image types are supported. Once an image has been added to the document, you can easily cut/paste this image to other locations in the document. A right-mouse click on any image in the document will take you to the image's Properties dialog.
![]() Symbol
Symbol
use this dialog to add symbols from extended character sets for Windows fonts. The following dialog is displayed:
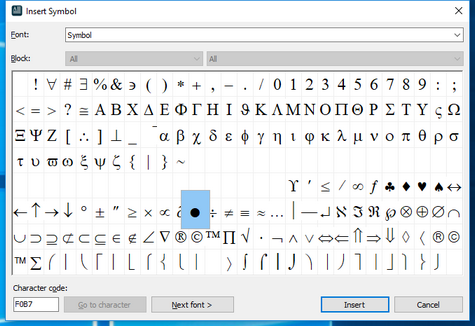
Insert Symbol Dialog
The 'Symbol' font is selected with the 'Symbol' character set by default. Select the symbol from the square previews below and click 'Insert' to add the symbol to the document at the current caret position. The symbol is zoomed in for confirmation when it is selected. Use the up/down/left/right arrow keys to move between the symbols quickly. Other fonts and character sets can be selected if desired.
Note: be careful when selecting fonts for your layouts, especially symbol fonts. Ensuring that your end-users have these fonts installed on their workstations would be best. The layout does NOT automatically embed fonts or install missing fonts - the layout stores a reference to the font.
![]() Fill Color
Fill Color
Use this option to quickly select a fill color for the selected object (if any). Choose from one of the 40 default colors or press 'More Colors' to define custom colors. The fill color can be applied to either the selected text (could be only a portion of the current paragraph) or the current paragraph (this would include the full paragraph, possibly beyond the currently selected text). Note: this 'Fill Color' is potentially different than the Paragraph background color selected from the Paragraph menu...Paragraph Borders And Background dialog. If there is a Fill Color for specific text, this fill color will supersede the background color for the paragraph (but only for that selected text).
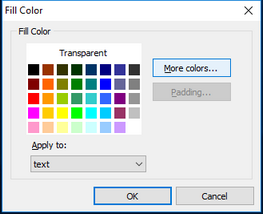
Fill Color Selection Dialog
![]() Insert Table
Insert Table
Use this drop-down menu to create a table at the current caret position quickly - click and drag the mouse to the desired size (height/width). Note that you can continue dragging beyond the height/width of the initial 4x5 grid to create a table of an even larger size. This operation is equivalent to the button on the Table tab...Insert...Insert Table.

Table Grid Dialog
![]() Hyperlink Text
Hyperlink Text
use this operation to create text that has a hyperlink quickly. If no text is currently selected in the document, then you will see the following dialog:

Insert Hyperlink Dialog - Example
Use the 'Hyperlink' edit box to specify the hyperlink to attach to the text/object. See Merge/Hyperlink Options for a reminder of available hyperlinks. After you press OK, the new text will be added to the document with the default font style and the default hyperlink color/underline (blue and underlined). You can modify this text font style (you can even remove the underline), and the hyperlink will be retained.
To modify an existing hyperlink, select the appropriate text and right-mouse click...select 'Hyperlink.' The same dialog as above will be displayed.
![]() Horizontal Line
Horizontal Line
Use this option to add a horizontal line across the page at the current caret position. After adding a line to the document, you can right-mouse-click on the line object and select 'Properties.' The following dialog will be displayed:
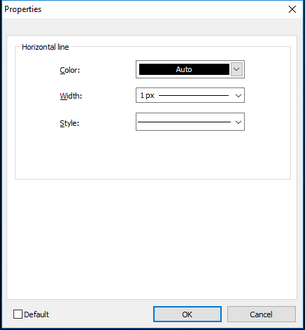
Line Properties
Use this simple dialog to modify the line color and increase/decrease the line width. To delete a horizontal line from the document, place the caret position just to the right of the line and then press 'Backspace' on the keyboard to clear.
![]() Spelling
Spelling
Use this option to check your spelling throughout your layout. If the spell-check comes across a word that is not in your dictionary, it will return the following dialog:
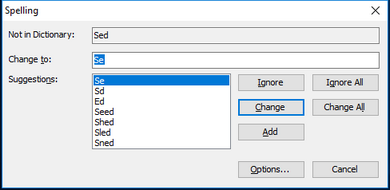
Spelling Dialog
This dialog will show you which word it found that is not in your dictionary. It will also give you suggestions on similar words so that you can easily change your misspelled word and your layout passes spell-check.
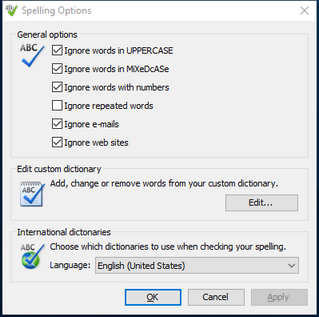
Spelling Options Dialog
Clicking on options will open the following dialog in which you can customize your spelling options and how your spell-check will operate. You can add, change, and/or remove words from your custom dictionary here.
![]() Object Properties
Object Properties
use this option to pop up a properties dialog for the selected object. This option is only applicable to picture objects. The following dialog will be displayed:
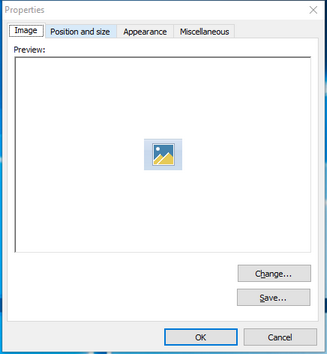
Picture Object Properties
You can use the 'Change' button from the Image tab to select an updated image. Transparency is an optional setting. Set the 'Transparency color' or leave the default as 'Auto.' 'Auto' means that the upper-left pixel of the image will be used to determine the transparency color. Typically it is not necessary to specify transparency settings - since the background color for all layouts is white (there is nothing to 'bleed through' the transparent color).
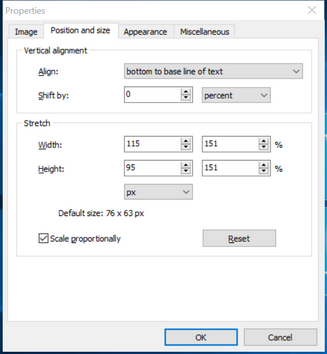
From the 'Position and size' tab, you can fine-tune the position of the image object relative to the surrounding text objects and paragraphs. First, define the Vertical Alignment of the image. Options are:
· Bottom to baseline of text: align the bottom of the image to the baseline of the text
·Middle to baseline of text: align the middle of the image to the baseline of the text
·top to line top: align the top of the image to the top of the line
·Bottom to line bottom: align the bottom of the image to the bottom of the line
·Middle to line middle: align the middle of the image to the middle of the line
Once this general position of the image is established, it can be shifted by a fixed amount (pixels) or a percentage. Use +/- numbers to achieve up and down directions.
Next, you can stretch/scale the image. The default size of the image is noted at the bottom of the 'Stretch' group box. This default can be stretched by modifying the 'Width' and 'Height' spin controls. Specify either a fixed # of pixels or a percentage.
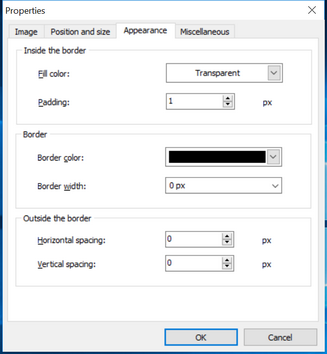
Spacing can be specified - this will add a # of pixels that will 'pad' the image away from the bounds you have already selected.
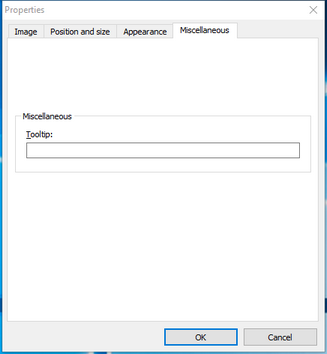
'Alternate text' is only relevant if the page is pulled up in a web browser - which is not typical IndySoft functionality - so this setting can typically be disregarded. |