Layout Editor Ribbon...Home...Paragraph

Paragraph Operations
![]() Left Align
Left Align
Left align text in the current paragraph
![]() Center Align
Center Align
Center align text in the current paragraph
![]() Right Align
Right Align
Right-align text in the current paragraph
![]() Justify Align
Justify Align
Justify text in the current text (left align and right align)
![]() Decrease Left Indent
Decrease Left Indent
Moves the indent position left one level for the current paragraph
![]() Increase Left Indent
Increase Left Indent
Moves the indent position right one level for the current position
![]() Spacing Options
Spacing Options
Displays a sub-menu - select either single line spacing, 1.5 line spacing, or double spacing - relates to the current paragraph
![]() Text Flow
Text Flow
Modify the flow of text in the current paragraph
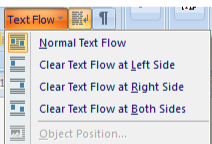
Text Flow Options
![]() Word Wrap
Word Wrap
Toggles on/off word wrap for the current paragraph
![]() Non-Printing Characters
Non-Printing Characters
This button will toggle the visibility of non-printing characters like carriage returns.
![]() Background Color
Background Color
Modify the background color for the current paragraph
![]() Paragraph Border And Background
Paragraph Border And Background
This button will display a dialog for setting border and background options for the current paragraph:
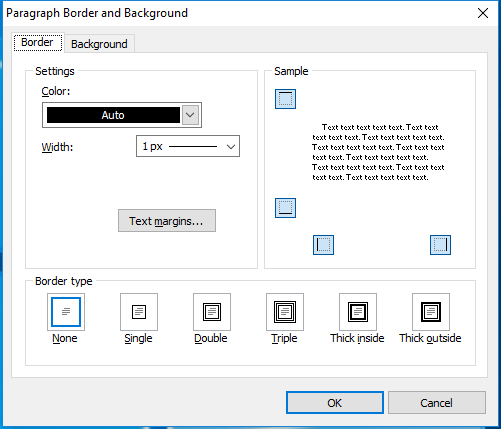
Paragraph Border And Background Dialog - 2 Tabs
These options allow for optional borders on all four sides of the current paragraph in various styles (single, double, thick, etc.) and background colors. Select Transparent for the background color to use the color currently behind the paragraph.
Border Tab - paragraph borders are very similar to table cell borders. Select a color, width, and border type. The 'Internal Width' setting is only relevant if you have selected a Border Type that involves multiple lines (like 'Thick inside' or 'Thick outside'). Also note the four buttons for 'Top Side,' 'Bottom Side,' 'Left Side,' and 'Right Side' that are in the 'Sample' section - these determine the borders that will be displayed.
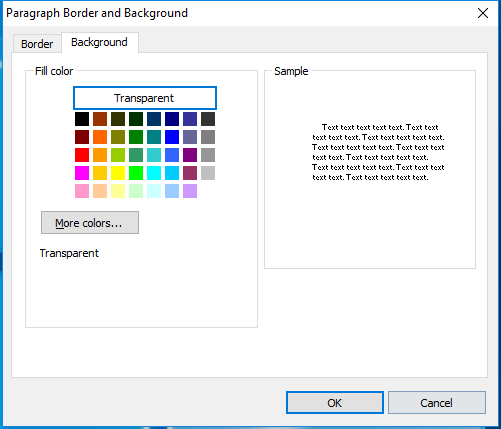
Background Tab - paragraph backgrounds are similar to table cell backgrounds. Select the Fill Color - choose from one of the 40 pre-defined colors or select 'More Colors' to define custom colors. Use the 'Padding' dialog to specify padding surrounding the background (see the Sample box for a preview). By default, all padding settings use equal values for all four sides. Negative padding will create a space inside the paragraph before the background color begins. Positive padding will result in the background 'spilling out' of the paragraph bounds.
Note that the sample in the upper right of the dialog always includes both Border and Background settings.
Note: These options should not be confused with similar options for tables and table cells. Remember that all text used inside table cells also belongs to a paragraph with its own settings. So if you have text inside a table with a border that you can't seem to remove through normal table/cell properties, don't forget to check back on this dialog for paragraph-specific borders/colors.
![]() Select All
Select All
Selects all text in the layout, including all objects
Finally, many of the common options above can be viewed/edited from a single Advanced Paragraph dialog available from the small arrow in the lower right:

Launch Advanced Paragraph Dialog
There are three sub-tabs. The easiest way to understand all options is to pay close attention to the 'Sample' at the bottom of the page. This sample text will immediately change in response to all setting modifications:
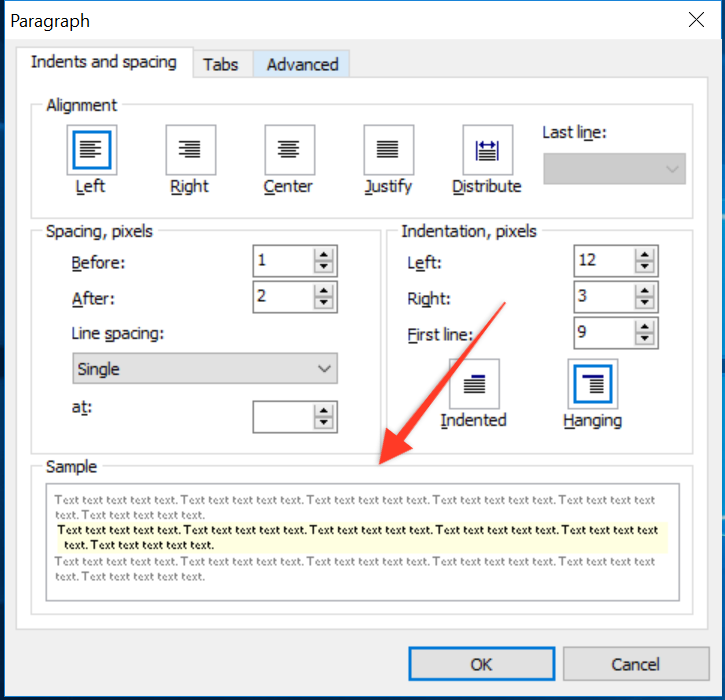
Indents and Spacing - this tab contains common options for formatting the current paragraph. Alignment options are left justified, right justified, center justified, or justify (left and right justification).
Indentation - each paragraph can have a fixed indentation on the left and right of the text. These fixed indentations are distinct from the 'first line indentation, which is the 3rd setting. There are two types of 'first line' indentation, a standard indentation (first line starts xx points to the right of standard text lines) and a 'hanging' indentation (first line starts xx points to the left of standard text lines. If the 'First Line' indentation setting equals 0, then the 'indented' or 'hanging' toggle is irrelevant. When a non-zero number is entered for 'First Line,' indentation is input, and the toggle for 'Indented' is defaulted. Select 'hanging' if you would like to change this default.
IMPORTANT: Please pay close attention to indentation and spacing paragraph settings! When designing layouts (especially layouts that use tables and sub-tables), it is easy to become frustrated when you see a 'little extra space' and don't know where it comes from. You double-check the font sizes, the table borders, table cell borders, etc., and you still can't get it to look 'right.' In those cases, the explanation is almost always the paragraph spacing and indentation settings - don't forget about these!
Spacing - each paragraph can automatically add a fixed size before and after each paragraph. For instance, set the 'After' spacing to 10 to add extra space between paragraphs. There are six different types of Line Spacing:
1. Single - standard single-spaced lines. Think normal typewriter.
2. 1.5 Lines - halfway between single and double spacing.
3. Double - an extra line between all lines. You learned this trick in high school, remember?
4. At least - defines the minimum line height in pixels (more might be required depending on the font/object sizes).
5. Exactly - defines the exact line height in pixels
6. Multiple - lets the user define a 'multiple' by which lines are spaces. Example: If 'Single' spacing = 1 and 'Double' spacing = 2, then a 'Multiple' setting = 4 would be twice as wide (between lines) as 'Double' spacing.
Tabs - use this tab to input custom tab positions. Each tab position can be either 'left,' 'right,' or 'center' and contain an optional 'leader.' Use the 'delete' button to delete the currently selected tab or 'Delete All' to delete all tabs for the paragraph. Note: Tabs can also be quickly created by single-clicking (left mouse click) inside the ruler that is above the layout:
![]()
Example - 3 tabs set from Ruler above Layout
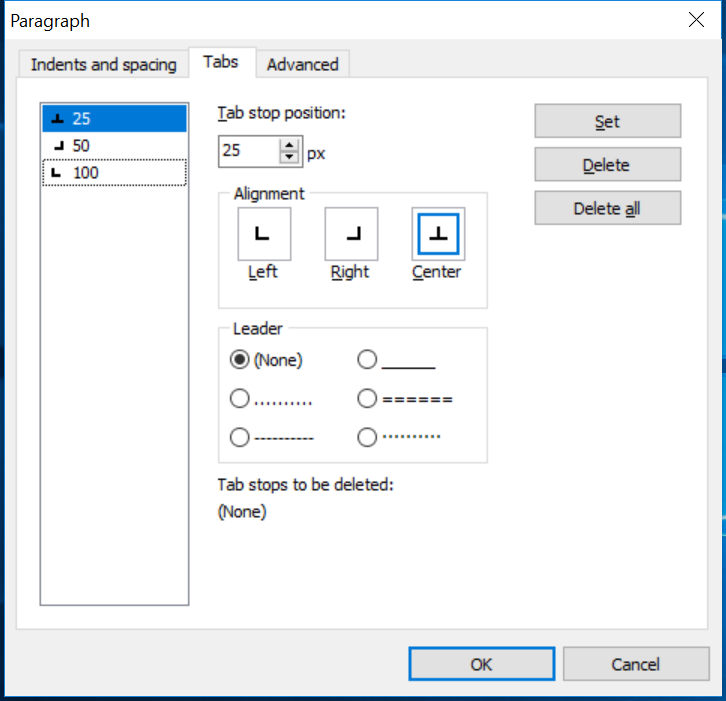
View of same three tab positions in Paragraph dialog...Tabs
Advanced - this tab contains options for the outline level and pagination options. For pagination, are three options available: 1) Keep lines together - this means that the entire paragraph must be kept on the same page when multiple new pages are used. This is normally irrelevant for IndySoft layout documents - since they are used onscreen with an infinitely 'tall' canvas. 2) Keep with the next - if possible, the current paragraph will be printed on the same page as the next paragraph. This is also normally irrelevant for IndySoft layout documents - since they are used onscreen with an infinitely 'tall' canvas.' 3) Widow/orphan control - [fill in here]
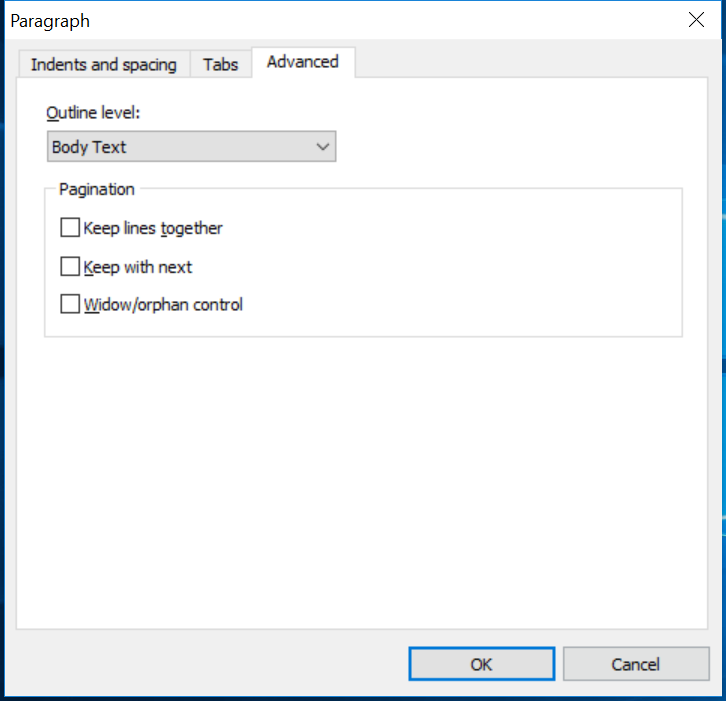
Expanded Paragraph Dialog - Advanced Tab |