Test Points - Grid Customization
Customizing the Test Points Grid
Because you might want to calibrate many different types of equipment, IndySoft allows you to have multiple setups for your test point information. For example, suppose you were calibrating Electronic equipment. You could set up an 'Electronics' test point setup and add columns specific to electronics calibration. As another example, if you are calibrating a go/no go type gage, you could easily set up a calibration result grid that records pass/fail. There are many ways to be creative with this feature to meet your calibration requirements.
../Storage/indysoft-help-publication/98676775.png
Test Point Wizard - Locate 'Grid Customization'
![]() Test Point Grid Displays
Test Point Grid Displays
There are two main types of Grid Type Displays, the Setup Grid & Results Grid. You can switch between the two using the radio buttons in the top right-hand corner of the wizard:
![]()
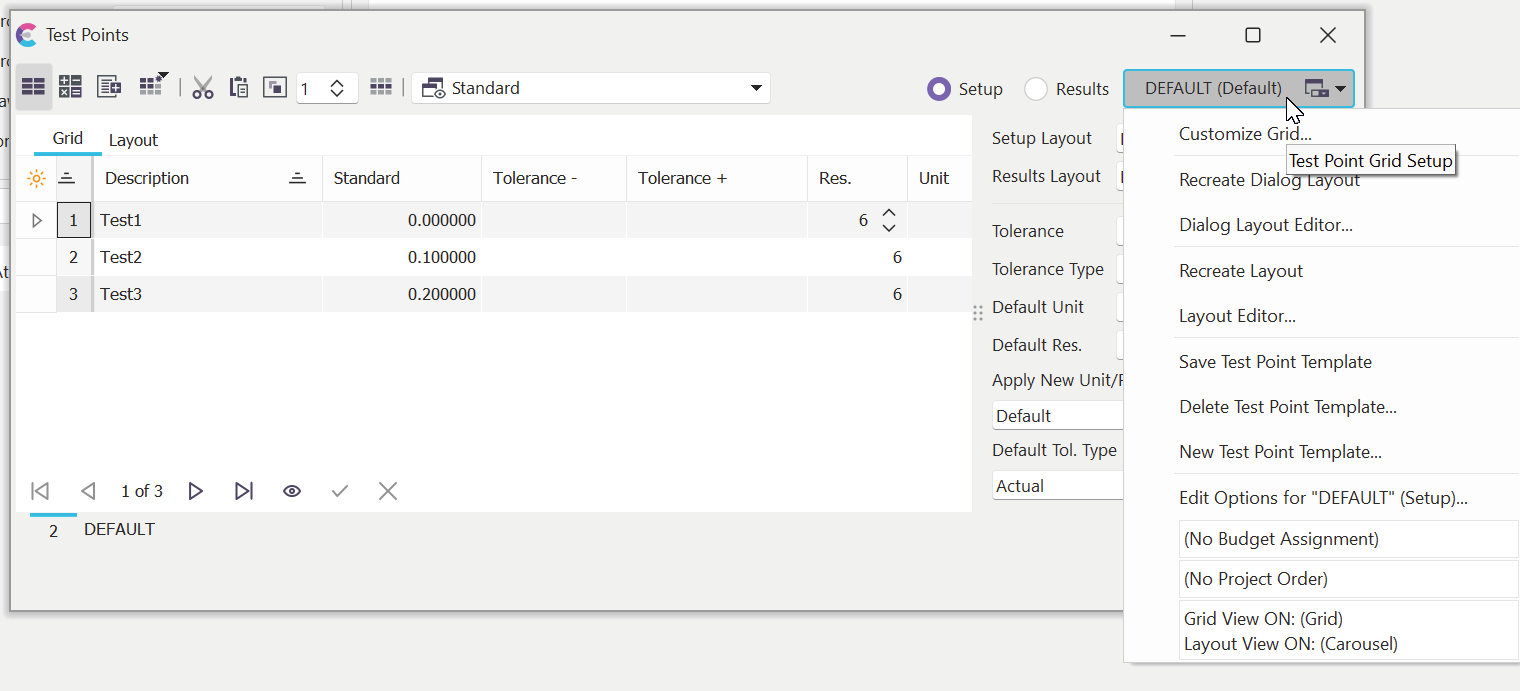
Test Point Grid Menu Button
Display Calibration Setup Grid
This Grid is used when setting up test point information. It differs from the Results Grid in that no 'result' columns, such as As Found results, are displayed here.
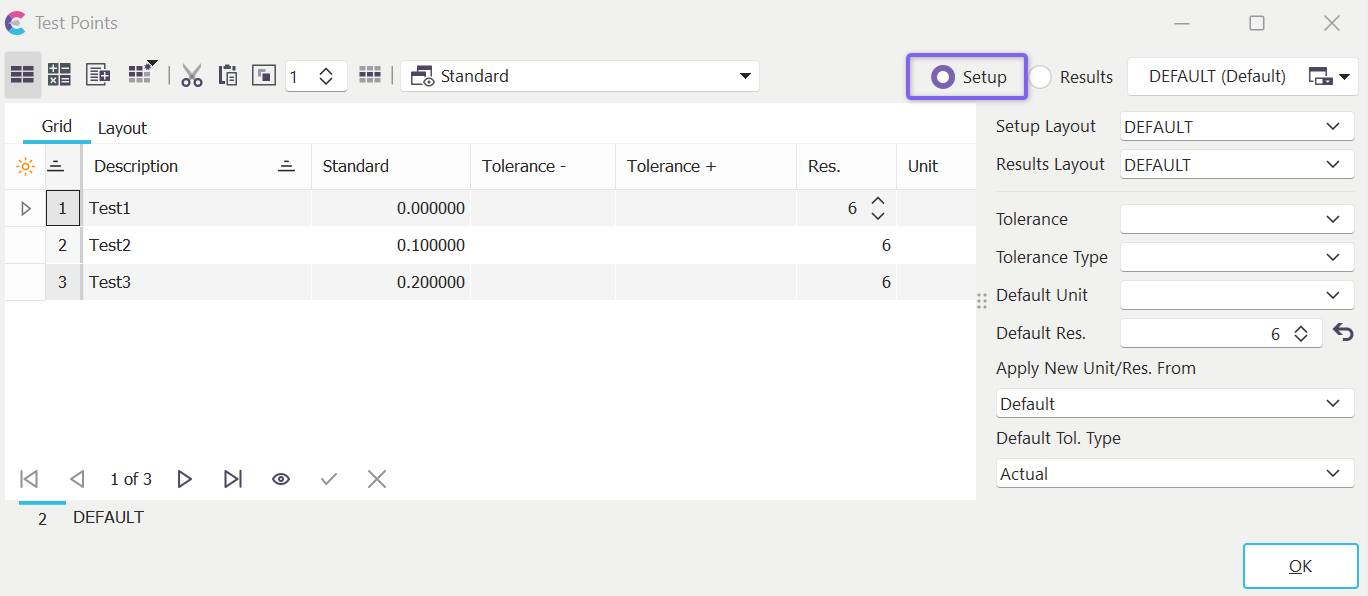
Example 'Setup Grid'
Display Calibration Results Grid
This Grid is used when inputting calibration results in an event. It differs from the Setup Grid in that there are now 'result' columns such as As Found and As Left results.
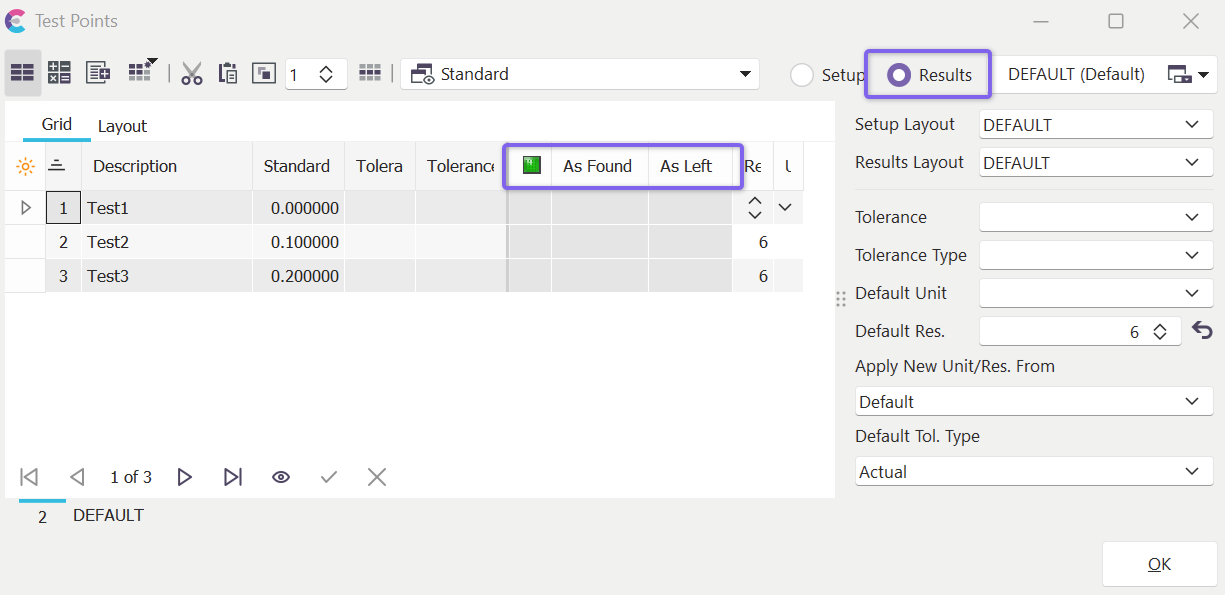
Example 'Results Grid'
Saving Test Point Templates
To save the current grid display type under the currently displayed grid type name, choose Save Test Point Template from the Test Point Grid Setup menu item.
Deleting Test Point Templates
To delete the current grid display type, first choose a Test Point Template type to display and next choose Delete Test Point Template... from the Test Point Grid Setup menu item.
New Test Point Templates
To save the current grid display type as a new Test Point Template name, choose New Test Point Template from the Test Point Grid Setup menu item.
Customizing Fields That Are Displayed In The Grid
To customize the fields displayed in the test point grid, choose Customize Grid from the Test Point Grid Setup menu button and drag the fields you wish to display from the resulting Customize dialog to the grid. To remove columns, click on the column header you want to remove and drag it off the grid into the Customize dialog.
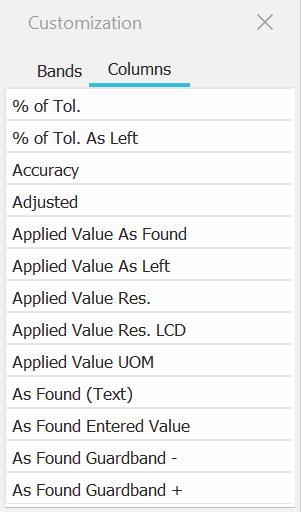
Customize Dialog
Exporting/Import Grid Layout
When the test point dialog is visible (press the 'edit' hyperlink from the Dashboard interface if you are viewing the test points in tab mode), you can right-mouse click in the test points grid and select export/import options for test point grid layouts:
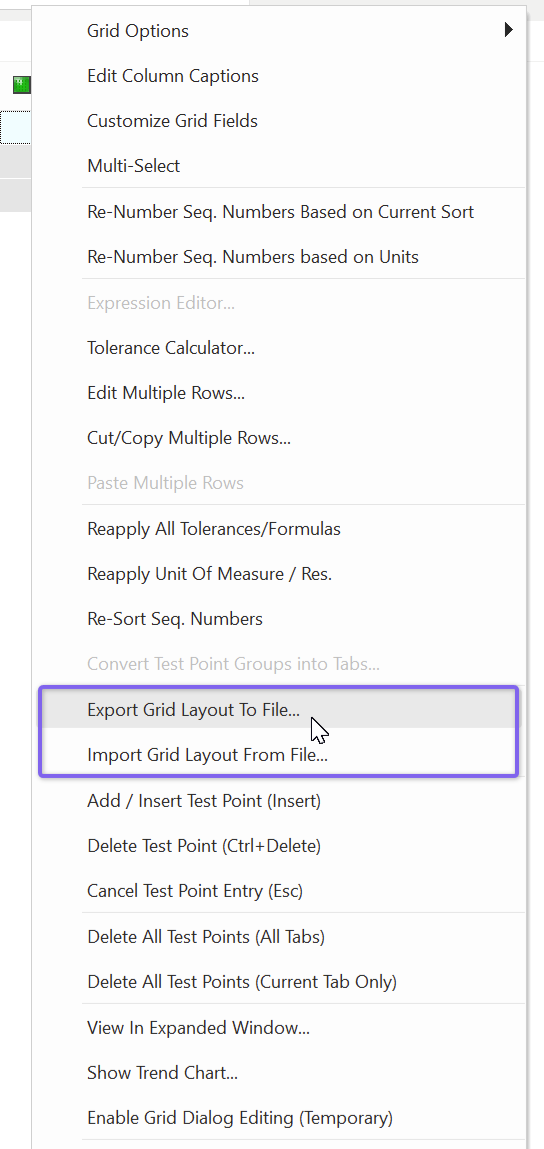
Export/Import Grid Layout
The export option creates an ini file at the location specified, which is a snapshot of the current grid's field settings (field positions, sizes, etc.). Note that this is a current snapshot and NOT an export of the currently selected test point template in the drop-down above the grid (it is possible that fields were resized in the grid, for example, without having saved the test point template). Importing an ini file will override the current grid layout with the settings from the ini. Don't forget to select 'Save Test Point Template' or 'New Test Point Template' if you want to save the imported grid to the database for future recall. |