Import From File
There is only one import option needed...Import from File. This option prompts for the location of a zip file previously created by the IndySoft Export/Import Utility:
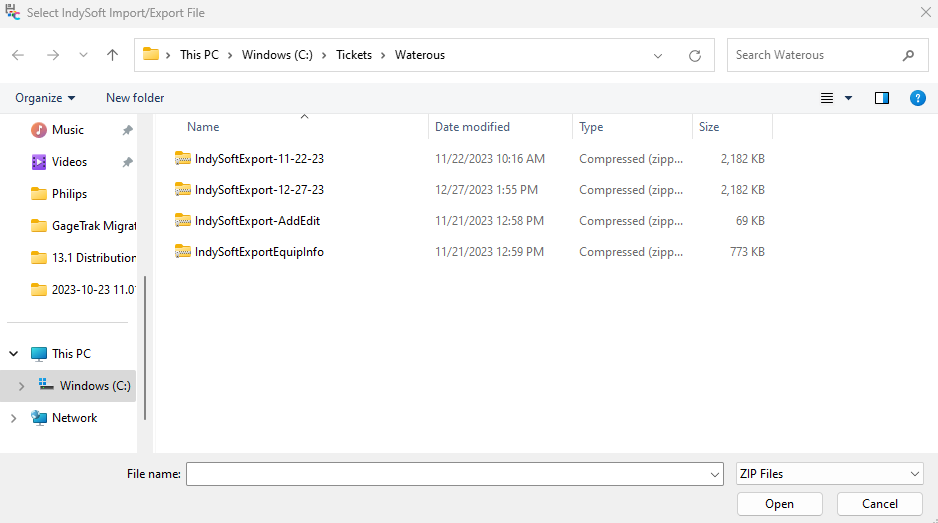
Select IndySoft Import/Export File
Once a valid ZIP file has been selected, the Import Options step will be shown. The sub-groups contained in the export file (being imported) will be shown in the grid. In the example below, an 'Equipment, Events, Action Requests' file is being read:
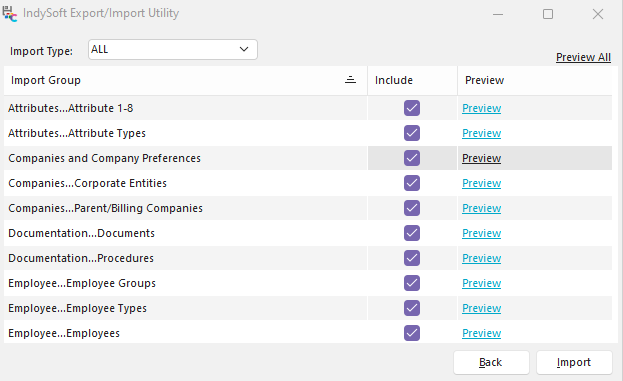
IndySoft Export/Import Module - Import Options
For each sub-group, you have the option of importing or not importing. Select this option from the 'Include' column in the grid. You can right-mouse-click in the grid to select options for quickly checking or unchecking all sub-groups.
Before importing the data, you might want to preview the contents to confirm you are importing exactly what you intend. Each sub-group has a' Preview' hyperlink in the 'Preview' column and a 'Preview All' hyperlink above the grid. Both options will show a preview dialog showing all or a subset of the export file contents. See Previewing Import File Contents for more details.
Import Type
This is a VERY important concept to understand before importing data using this utility. This option determines how the import data is mixed into your current database. There are four options (depending on your security profile, 'DELETE' might not be available).
·NEW ITEMS ONLY
Select this option if you want records to be imported into the database only if they do not already exist. For example, if you are importing equipment and 'ABC COMPANY' / 'GAGE1' is included in the import file, then if your database already contains an asset for 'ABC COMPANY' / 'GAGE1', the import will skip this record.
·UPDATE ONLY
Select this option if you want records to be updated in your database from the import file, but only if they already exist in your database. For example, if you are importing equipment and 'ABC COMPANY' / 'GAGE1' is included in the import file, this record will be updated in your database with the data in the import file ONLY if the record already exists in your database. If it is a new item, then it will be skipped.
·ALL
This option imports both new records (records in the import file but not yet in your database) AND updates records that already exist in both the import file and the database.
·DELETE
This option imports like ALL but first deletes all records from your database for the current group. This ensures that only the records in the import file for the current group will be in the database after the import. This is a very powerful but dangerous option - it should only be used when you know it is necessary. A couple of examples: say you are importing workflow configuration. In that case, it is often preferable to use DELETE to ensure that the events imported are the only events left on your system. Event workflows typically work together as a system; you might not want to mix and match events. Another example: say you are a technician that only has to go out into the field every few weeks. Suppose you use the DELETE option for importing equipment into your mobile Single-User database. In that case, you are insured that the only equipment records left on your laptop (that runs the Single-User version) are up-to-date records. Suppose you mix new equipment with older items synced months ago on earlier trips. In that case, you might be tempted to pull up those equipment records in the Single-User database while at the customer site and think the data is current, print an incorrect certificate, etc. A final example: say you are using the Export/Import Utility to sync occasional equipment and add/edit lists between a production environment and a test environment. In this case, you almost surely do NOT want to use the DELETE Import Type. Because as you import the assets or Add/Edit items, you will be removing potentially hundreds/thousands of other records. Since this operation involves a delete, you must confirm this choice before proceeding. The confirmation dialog lists all the subgroups that will be deleted if you choose to proceed. Below is an example:
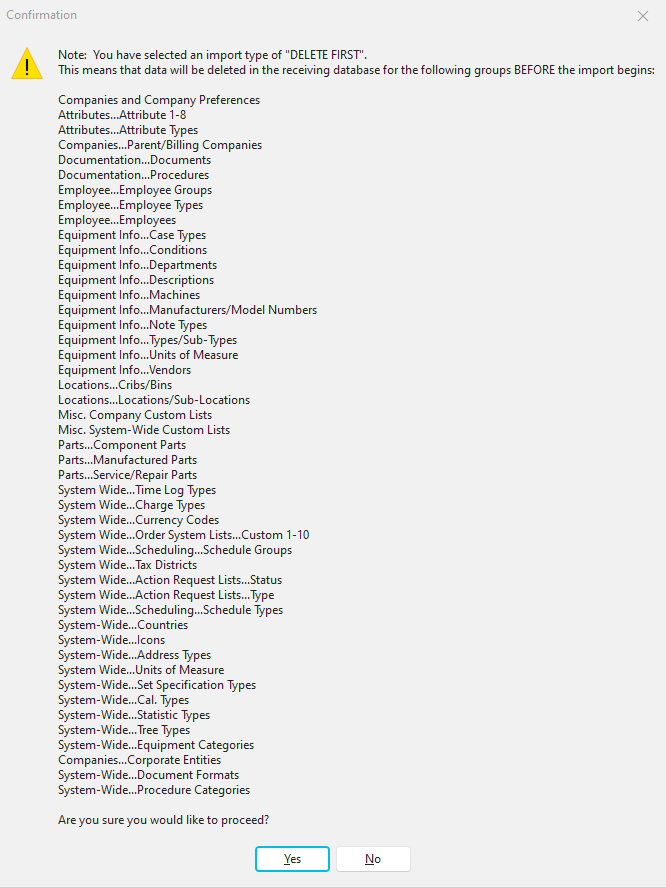
Delete First Confirmation
Since this is a sensitive option, non-Single-User systems have this option disabled by default through Profile Manager for all profiles except 'System Administrator.' Single-User systems have the option turned On by default. |